I think decorating the home is some kind of primal urge built deep into my cell structure. Not that I want to over-decorate or spend tons of money on new furniture, but I do want to make the home a nice and inviting place for my friends and family. I just don’t have a lot of time, tools and resources at my disposal. Who does, right?
So lately I’ve been seeking inexpensive ways I can make little changes to make our house more homey. Last week’s project was to tackle some inexpensive wall decor that I’d been noodling around in my head for a while.
The first thing you need are some inexpensive picture frames – I got five at the Dollar General for a dollar each – and some pretty ribbon – I got a spool of 24 yards for around $3.50 (but I only used about 7 yds.) The second thing you need is something to frame – I printed 5 letters in a pretty font that I liked.
The next thing I did, COULD have worked, but it didn’t turn out as I planned. You can learn from my mistake and do it right the first time. 😉 I used the papers that came in the frames as a guide for cutting my papers. My mistake was that I didn’t account for how much of the paper insert was covered by the frame. I used one at it’s original size, one trimmed about 1/4 inch smaller and one trimmed about 1/2 inch smaller. As a result, you can’t even see the outer white trim you SHOULD see. Next time I will remove the glass from one of the frames and mark what is visible on the paper insert and go from there.
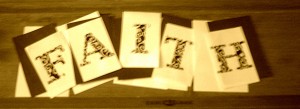
After using the papers as my guides, I had 5 stacks of letters, 5 stacks of slightly larger black paper and 5 stacks of slightly larger white paper. You know what I did next? I taped them. Yup – I’m real fancy like that. Using “loops” of scotch tape, I centered them each and taped them together for framing.
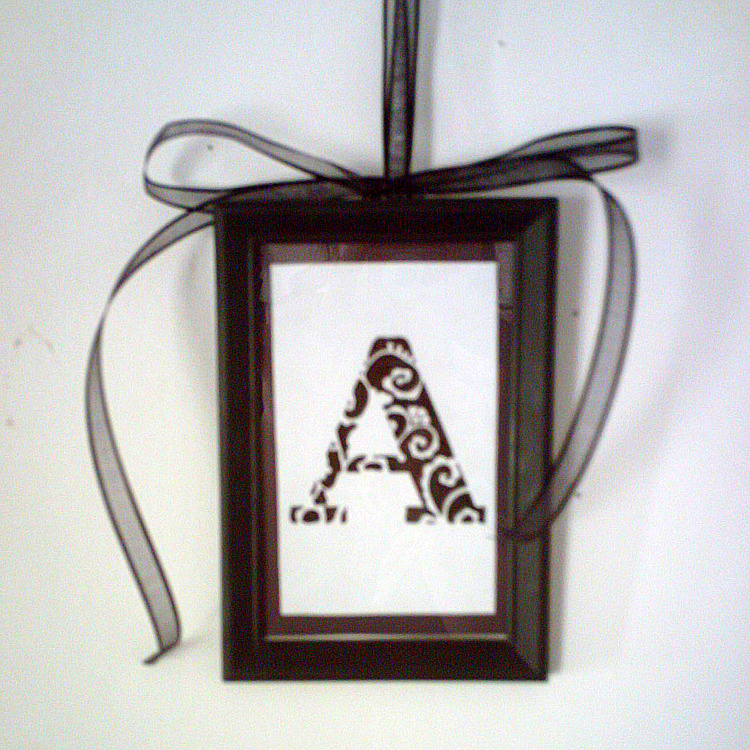
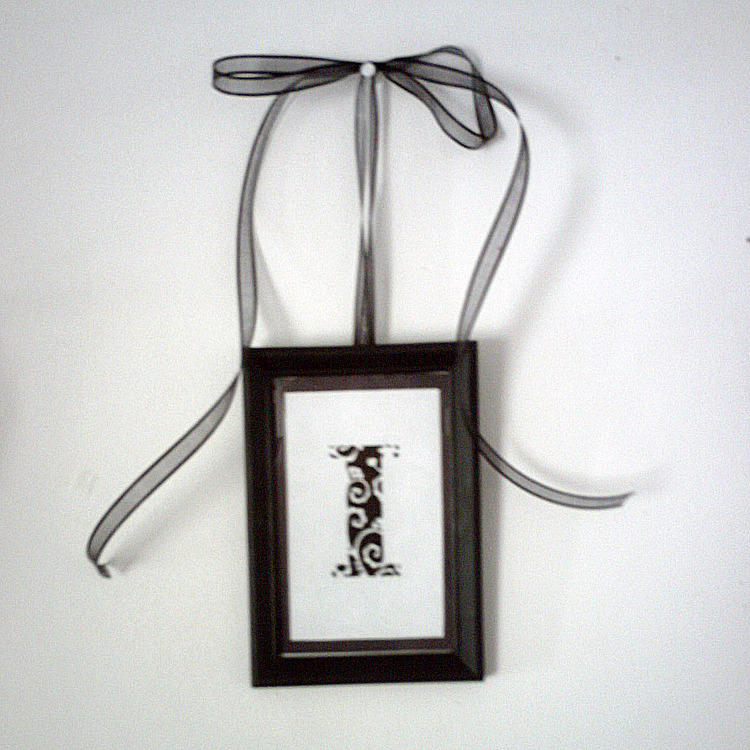
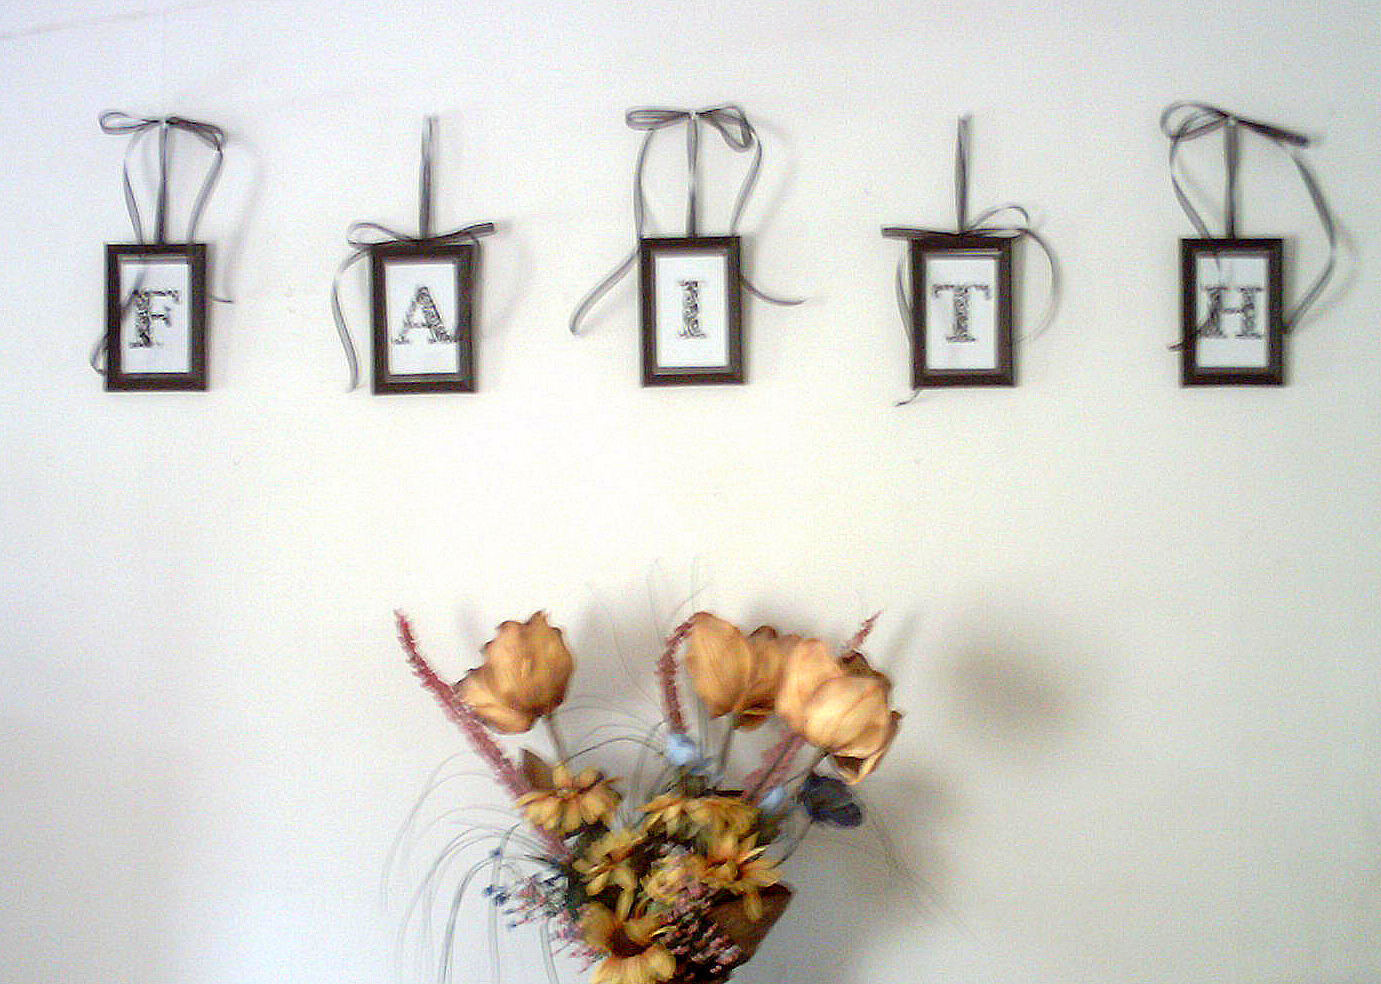
After framing them (and getting disappointed that I didn’t measure right but not wanting to RE-DO it… I measured and cut my ribbon into approximately 4 ft strips. I looped the ribbon through the hanger on the back of the picture frame and then alternated the way that I tied the bows.
When it was all said and done, I had this:
It’s not perfect, but who cares? It makes me happy. It makes me smile. 🙂 And it was really cheap. Uh, I mean, frugal. =P Not only that, but I can change it out when the papers start to fade. I make it say different things or I can hang black and white baby pictures of each family member or I can make silhouettes – the possibilities are endless.
And HOW CUTE are these? I keep hoping to find something trendy and cute like this at the dollar store, but I may just need to break down and buy them from Amazon. I definitely see something like this on my walls in the near future. 😉
Now all I need to do is change out the flower arrangement for something a little less… country. 😉
Tackle it Tuesday is hosted by 5 Minutes for Mom.
{P.S. – I apologize for the picture quality! Hubs had our camera so I used our daughter’s inexpensive one. The first two were overexposed and the white was TOO white – hence the sepia tones.}


So stinkin’ cute! I’ve thought about doing this to some degree except for my boys. Not sure how to do it with their room theme being video game characters (big wall decos of mario, Link from Zelda, tranformers, etc). Got any ideas?
Jenny 867-5309’s last blog post..3 reasons you’re losing followers
I inspired such wall decor greatness? Wow, I’m impressed 😀 Good job!!!
We are THAT family’s last blog post..LaBella Hand Stamped Jewelry {Giveaway w/2 Winners}
[…] may not believe this given the state of my sad, tired, country-fied floral arrangement I showed you last week, but I actually do have some strict floral rules I try to adhere to – […]