[maxbutton id=”3″]
Poppy Collages à la Georgia O’Keeffe
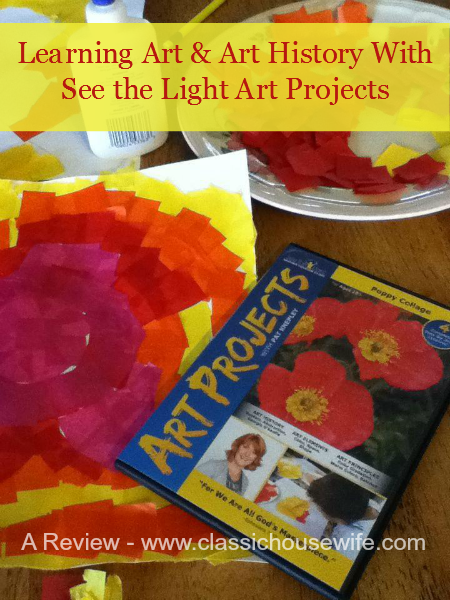
Anything that involves paper, glue and scissors is a “Win” in our home. When Princess was 3, I would sit her down with construction paper and safety scissors to let her cut tiny little pieces of “confetti” for craft projects. It would occupy her for hours. She used to love to cut pictures out of magazines by theme or letter sound and glue them into a collage for school projects. Princess isn’t 3 anymore – she’s 13, and she still loves art, and likes to play with scissors and glue. In fact, Princess is the one who chose the Poppy Collage Art DVD out of all the Art Project DVD’s I could have chosen to review. Well, I’m here to tell you that the paper collage project was a huge hit, and a huge success (did we expect anything else?) =)
Making the Paper Collages
Supplies:
- glue, bowl, water
- tissue paper squares (or tissue sheets and scissors/paper cutter)
- paintbrushes
- pencil, a good eraser
- poster board
- Poppy Collage Art DVD from See the Light
- Large work surface, covered and protected
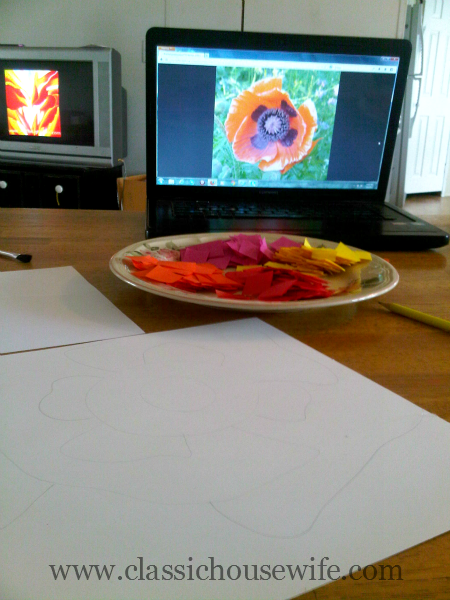
The first step for making paper collages is always the “Prep step” right? Whether you’re cutting pictures from magazines or using tissue paper squares, you need to have some kind of paper ready to glue into your collage. With a buzz of excitement in the air, the entourage and I went on a mission last week *just* to find the different colors of tissue paper we would need, the glue, and more scissors (because we never seem to be able to find scissors when we need them – what is up with that??) Hopping through the craft store, literally, we found our supplies and chose several different shades of tissue paper.
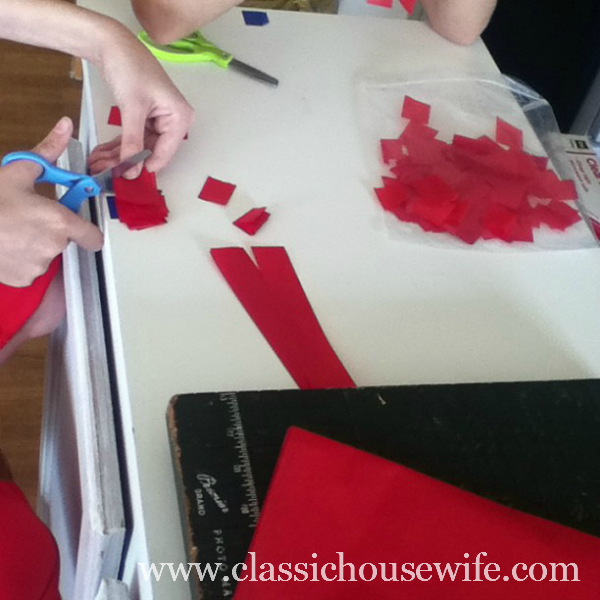
If you buy tissue paper sheets like I did, I recommend setting up an assembly line for cutting them into squares. Starting with a paper cutter to make strips, the kids cut the strips into squares and bagged them by color. It didn’t take long. But if you’re smarter than me, you’ll look on Amazon first and find that people actually SELL tissue paper squares (oh yes they do. It’s just a thought.)
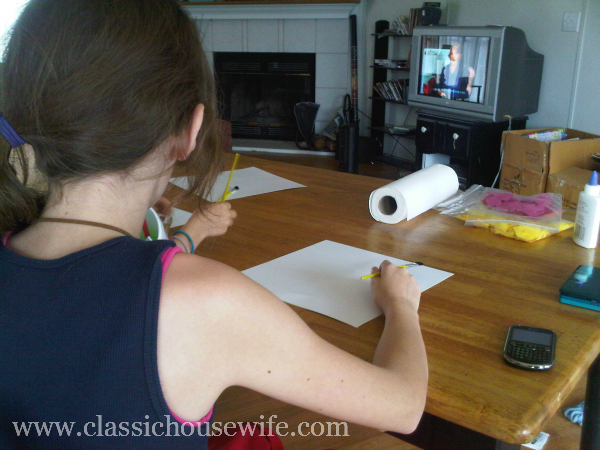
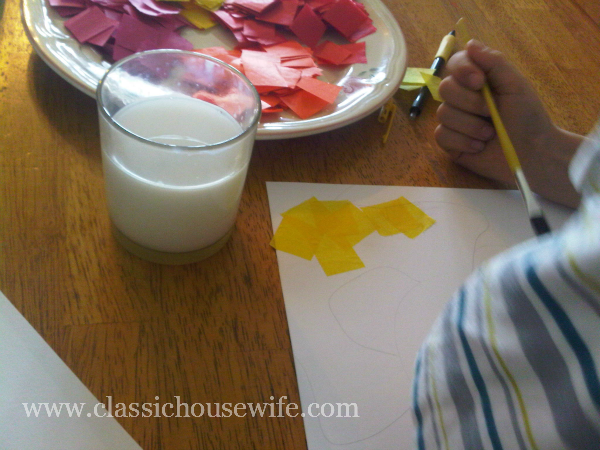
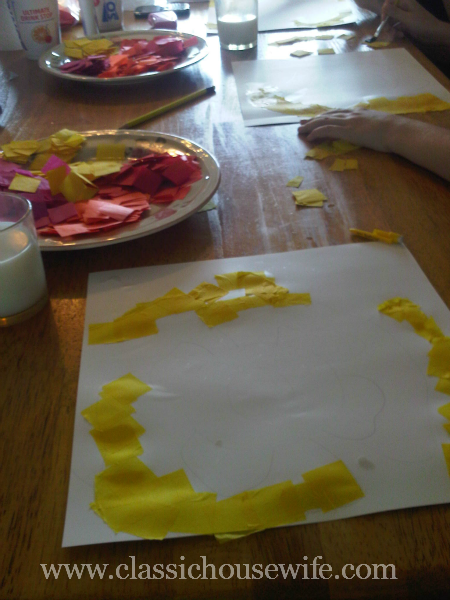
Making the paper collages wasn’t complicated or difficult. All three kids enjoyed working on them – though Little Prince ran out of interest as I suspected he would and I had fun finishing his. 😉 The DVD lesson is easy to follow and I find Pat’s teaching style both relaxing and entertaining. The lesson is broken into four sessions and you could choose to do them one at a time, or all in one sitting – my girls wanted to keep going, we did all but the last one in one sitting, and came back and finished the projects the next day.
A Combination of Art & Art History
My favorite thing about the Art Project, personally, is that the kids were learning both art AND art history at the same time. I really enjoyed listening to Pat tell us about Georgia O’Keeffe and abstract art as she worked. (Aside: as a Christian homeschooler, I also like how she brings it back to the glory of God a few times throughout the lesson!)
Things & Terms We Learned/Practiced In This Lesson:
- background and style of Georgia O’Keeffe
- viewing some of Georgia O’Keeffe’s most familiar art pieces
- terms “gradation,” “translucent” and “transparent”
- definition of “warm colors”
- definition of “collage” (to glue paper)
- definition of abstract art
I didn’t know much about O’Keeffe before we did the project, and I’m not sure my kids had ever heard her name at all. After the lesson, I found that I really enjoy her art! Particularly the floral pieces. Yesterday I decided to quiz the kids to see what they had retained. I asked who the artist was that we studied in the DVD (they remembered) and I asked what she was known for painting. Princess answered, “Painting real life stuff like flowers and painting it real big and large so that it wasn’t very realistic anymore.” (That’s pretty close to the definition of Georgia O’Keeffe’s style of abstract art that Pat gave us in the DVD – that’s my girl!)
See the Light Art Project DVDs
We’ve had the fun of experiencing two of the See the Light Art Project DVD’s – both the Poppy Collage and the Cartooning DVD. (The girls enjoyed the Cartooning DVD so much they sat for hours watching and pausing and drawing until well past bed time!) Like their Bible Story DVD’s that I’ve shared with you before, there are several parts to each DVD. Before you sit down to begin the Poppy Collage, you really need to watch the first part about supplies and materials to make sure you have everything you need.
Though the biblical reference might not be as obvious as with their Bible Story DVD’s, See the Light’s “slogan” on their website is “Drawing Children to Him” and you will find that theme all throughout the art lesson – from talking about the beauty of God’s creation to talking about using our talents for His glory. This is something that we do naturally in our day and our school lessons, so I always appreciate curriculum that aids me in pointing everything back to God’s’ glory! That is one reason why See the Light is on my list of “Favorites.”
The Art Project DVD’s are very reasonable at $15/each, and the kids had hours of fun out of it. We’ve discussed adding tissue paper squares to our regular art supply stash for future collage inspiration. They’re geared for slightly older kids with a little bit of art experience already, but I have found that my younger kids can “tag along” too, with a little bit of help from Mom, and still learn and have fun.
To learn more about the Art Project DVD’s you can watch this short video trailer that introduces this DVD series:
See the Light & Mommy Time Party
 See the Light gave away a copy of the Poppy Collage DVD for the “Homeschool Edition” of the Mommy Time Party, May 2013.
Find See the Light on Twitter, Facebook, Pinterest and their website! You should also check out their blog because they post tutorials and fun art lessons all the time!
See my reviews for other See the Light products: The Gift of Love and The Crossmaker.
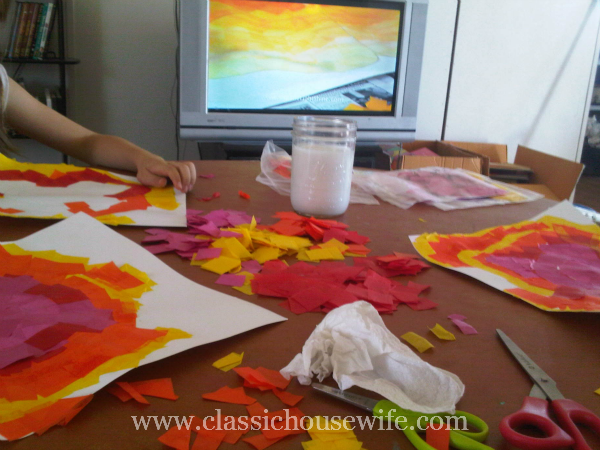
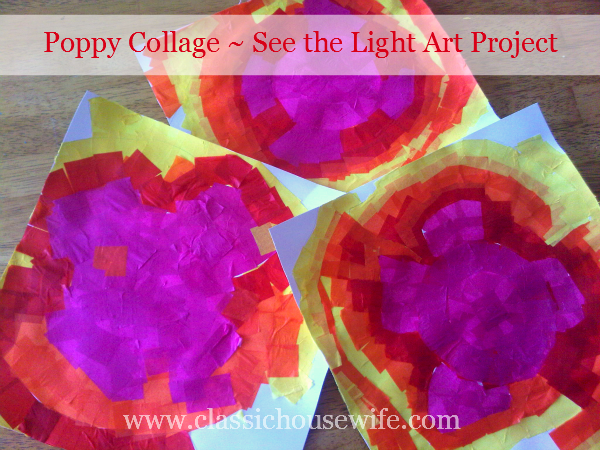
OH, I BET YOU WANT TO SEE OUR FINISHED PRODUCT?? Well, here it is. Drama Queen’s is on the left, Princess’ is on the right, and the on top is the one I finished for Little Prince. it was a great family art day. =)
A very special “thank you” to See the Light for the opportunity to review the Poppy Collage Art Project DVD! Though I received compensation for my time and for promotion during the Mommy Time Party, I do my best to provide an honest review. All opinions stated here are my own. For more information about how I do reviews, check out my Disclosure Statement and Review Policy.

I need to break out my DVD I won and give it a try. I also need to see what other DVDs they have towards what I could use with Ancient History next year
I love the collages! They are so beautiful! Thanks for posting the additional video as well. I am considering adding a formal art curriculum for next year…and See the Light looks pretty user friendly (since I’m not an art teacher : ) I’ll have to come by later for the Mommy Time!
[…] Poppy Collage DVD from See the Light […]
See the Light DVDs are awesome!
I agree! This sounds like a wonderful DVD.
when teaching math, keeping my attitude positive and encouraging when my child is struggling can sometimes be difficult.
this art activity is amazing! thanks for co-hosting this event and for all the prizes you are offering!
Just getting my boys interested.
My daughter is 3. We are just learning numbers at this point.
Keeping my artsy, language-loving daughter interested in math can be tough. BTW, she would love this art project.
We love See the Light! Poppy Collage is one we have not done yet!
My biggest challenge teaching math is affording the curriculum.
Wow that is so cool! I would love for my children to win this dvd
My kids are all about cutting and gluing. They would love this project.
This sounds great. I’m always looking for art videos because I’m lousy at art and have a hard time demonstrating the skills they need to learn.
We love all the See the Light DVDs and would love to try this one!
–Gena
Those look great! It looks like a project Wendy and David would both enjoy, and there aren’t too many of those due to their age/ability/focus differences.
Would love for my kids to study Georgia O’Keefe!!
I think the most interesting thing we worked on in our art class this year was clay sculpting. Thanks for a chance to enter the giveaway.
We have not done a lot of art yet but are ready to get started!
They look wonderful. This looks like a great project for any age. Thank you for the detailed review. Really helps me see what is all involved. Thank you.