Okay, Y’all – especially those of you with an eye for design – once again I need your input! My artsy side and my indecisive side and my practical side are conflicting with each other again (that makes me sound like I have a multiple personality disorder-doesn’t it?)
So.
I’m nearly done painting one side of the kitchen. I need to paint and hang the black doors and drawer fronts and then paint the little bit of wall space around everything in the ivory color. But I’m undecided about the other half of the kitchen. And since I live in a mobile home, yes, I literally mean, the other half. The other side. Of my long, skinny kitchen.
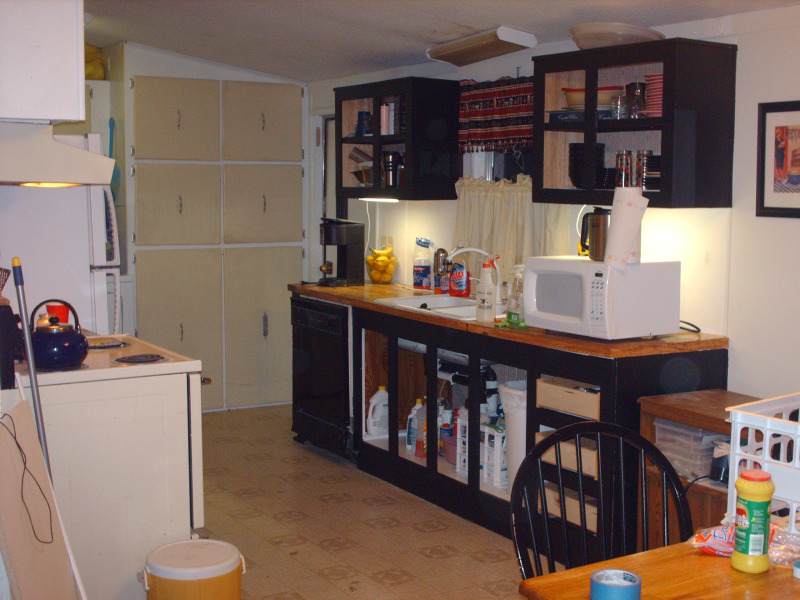
Here’s my kitchen.
That countertop is only nine feet long and the whole kitchen is probably about 9 or 10 feet across. Fortunately, it’s open on the far end to the laundry/pantry area with the high wall of cabinets and open on the other end into the dining room so it doesn’t feel AS small as it would if it were closed in.
Anywho. I digress.
As you can see, I’m wrapping up on the sink side of the kitchen there, and soon I’ll have to switch over to the other side.
But first, lemme give you a little 360 action around the room.
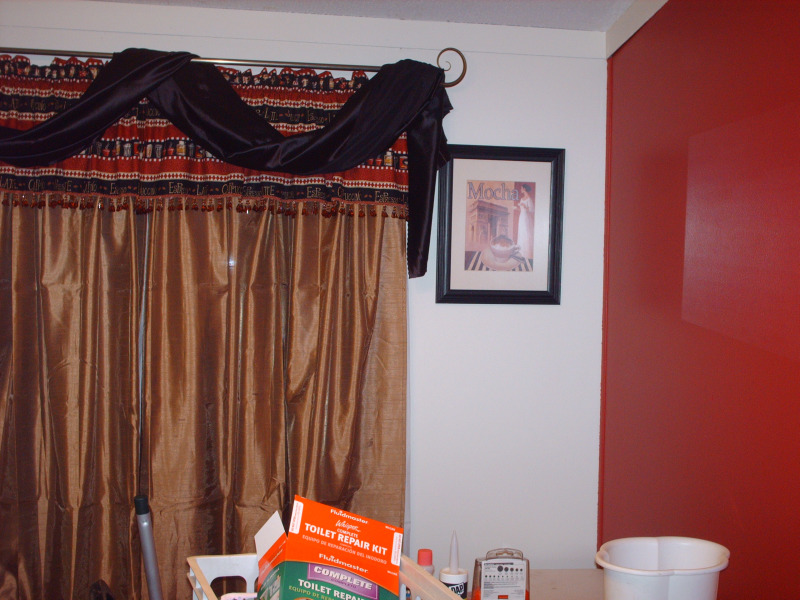
Starting in the dining room, at the end of the wall shared with the kitchen… No, that’s not REALLY a window scarf. Pretend it’s a window scarf, okay? It’s just a black piece of fabric ACTING like a window scarf because it doesn’t know any better. But one day it will either become one or be replaced by one – maybe a black one with a black fringe?
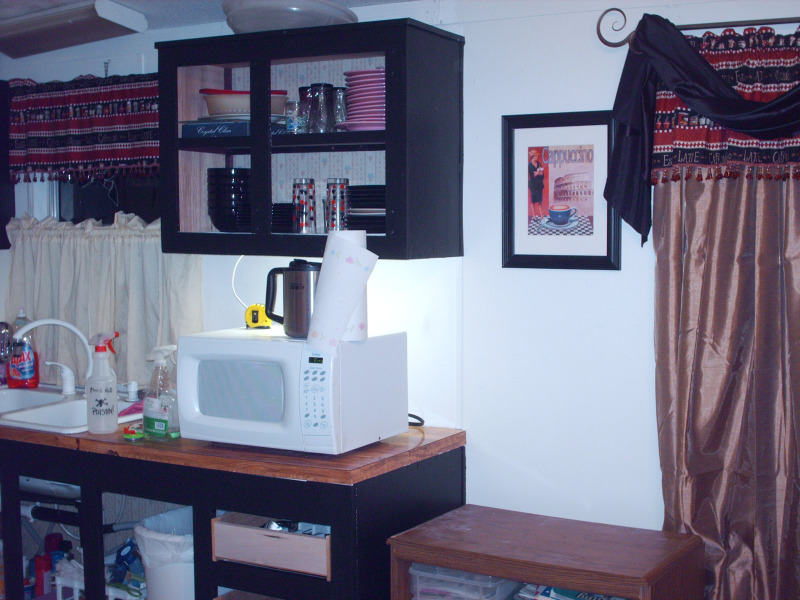
Moving into the kitchen, you can see the matching valances (though the yellow bottom curtain isn’t staying – I don’t have anything to replace it with yet) and how well the black cabinets play with the black in the valances, the window scarf and the black picture frame. (I love it when my decorations play nicely together.)
At some point in the near future, I’ll line the back of the upper cabinets (against the wall) with some kind of black and white contact paper or wall paper to cover up the orange and yellow flowers. Don’t argue.
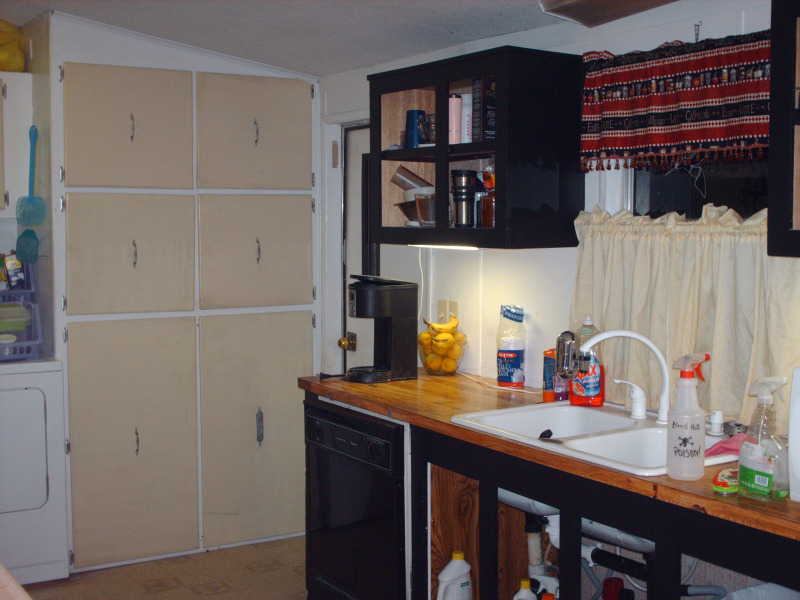
And the other end of the sink wall. All the cabinets were white with almond doors, that’s what we’re moving away from. But the pantry (seen there) and the utility cabinets over the washer and dryer (to the left) are going to stay that way for now – to help define spaces. They may later be repainted in a solid neutral color to be determined at a later date.
Oh! Like my bowl of lemons?? I WAS going to make lemonade. I seem to have gotten distracted and now I fear it’s too late for those lemons. At least they’re pretty. Moving on….
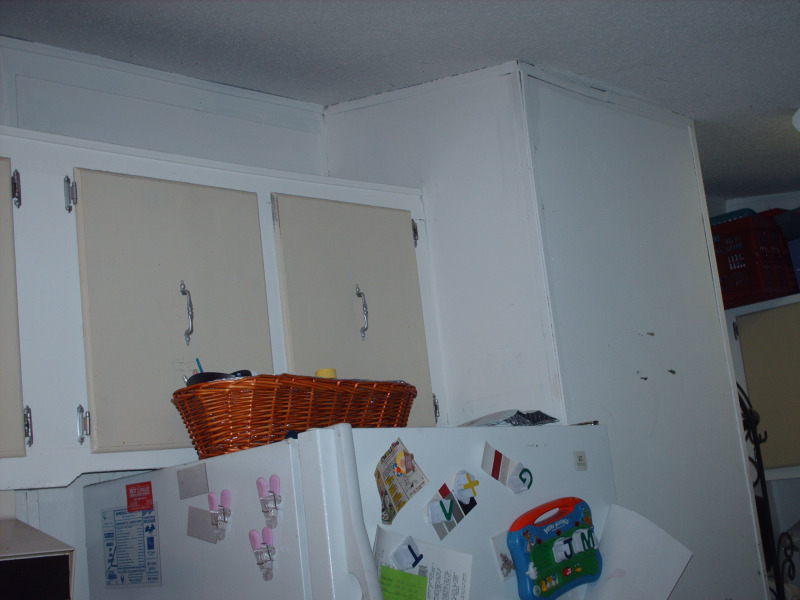
Starting on the other side at the end near the laundry area… you can see the top part of the little wall next to the fridge (and part of the baker’s rack that normally sits there but is squeezed in front of the washer right now so I can paint. See those leap frog letters? You won’t be seeing them in the “after” pictures. We loved that toy, but it died and as I’m sitting here looking at the picture I’m wondering – why is that even still on the fridge??
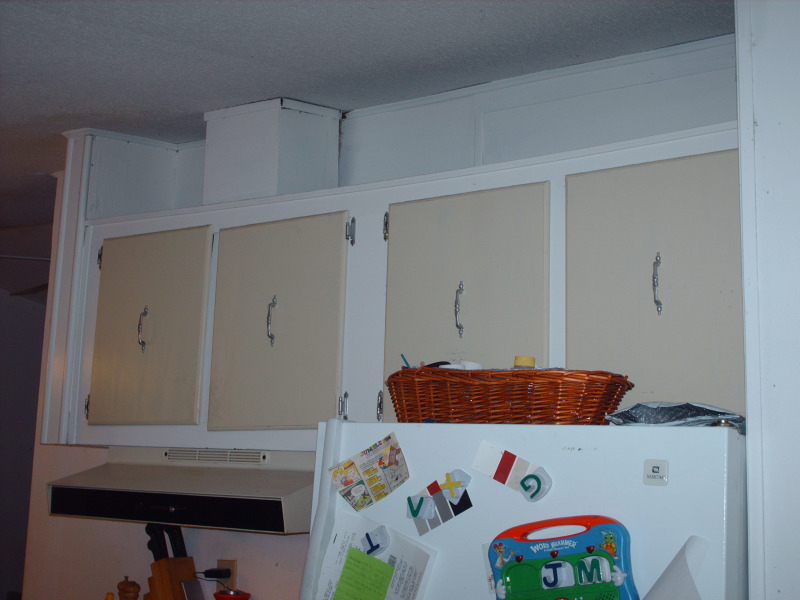
Here are the overhead cabinets on the other side, one of the main areas in question. Keep that in mind…
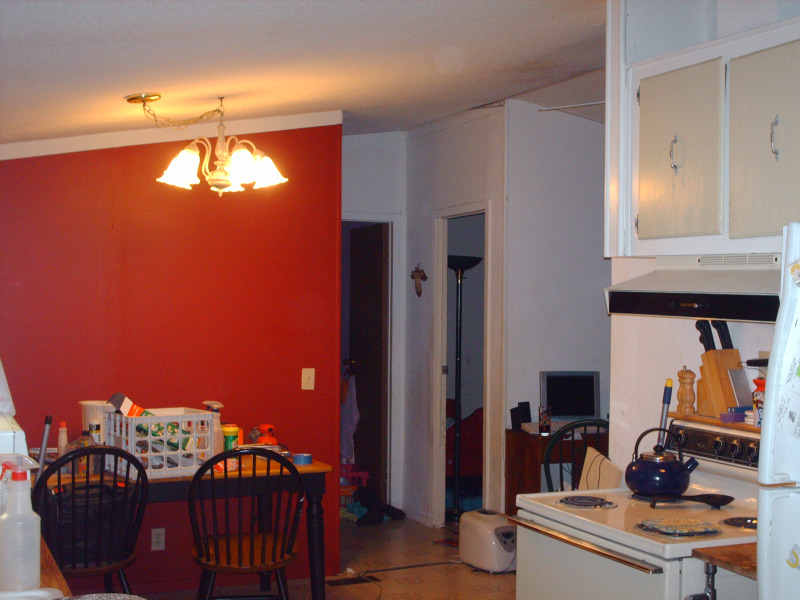
And here we are looking back down the kitchen into the dining room where we started. I know it’s little. And perhaps one day we’ll have a larger kitchen, but in the meantime, at least this kitchen will be stylish. =P Oh, and please do ignore the work tools and such on the dining room table – it’s being used as my work space through this whole thing!
One more thing…
To the right and on the other side of the stove wall is the living room, which is going to be painted in a cappuccino color (except maybe one wall will be red. The ivory on the sink/window wall is carried across the top of the red wall, around the hallway (also cappuccino) and around the living room. (I’m excited about the white trim on the cappuccino color – I think it’s really going to look nice!) So, now… knowing that…
I HAD intended to paint all the walls in the kitchen ivory and all the cabinets and doors black. But now I’m thinking I might bring the cappuccino around that stove wall and carry it on behind the stove (think “doesn’t show splatters as much, doesn’t stain as much.”) And that led to a whole slew of ideas and that’s where you come in.
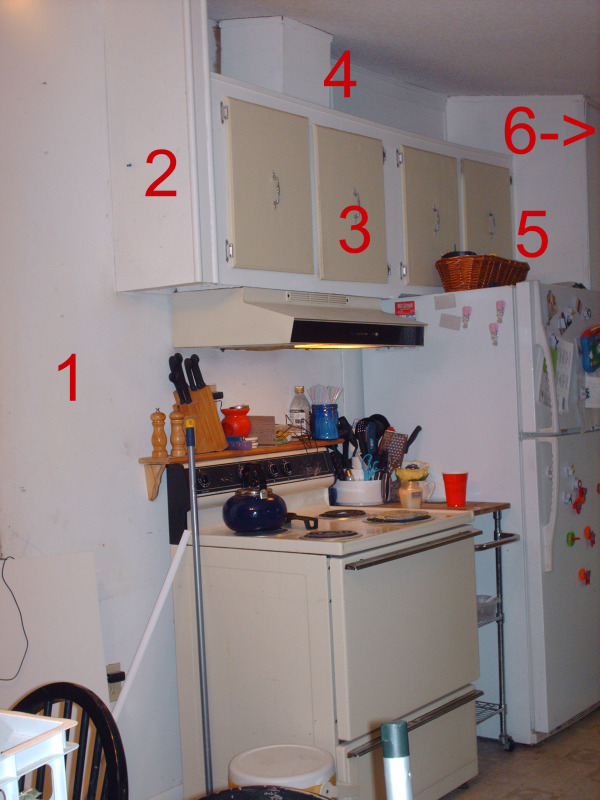
Kitchen Paint-By-Number
I could bring the cappuccino around the wall, up the left of the cabinets/behind the stove (1), and continue it on the other side of the cabinets (5) and even take it around on the other side of the fridge where the baker’s rack sits (6.) The cabinets could stay black (3), and I could paint the little wall (2) and above the cabinets (4) ivory–to keep it open and continue the white on top theme.
Or I could bring it around (1) and on the other side of the cabinets (5), and paint everything else ivory (2,3,4,6) or maybe still paint the cabinets black (3.)
Or I could only paint the above part (4) and bakers rack wall (6) ivory, the cabinets black (3) and everything else (1,2,5) cappuccino.
There’s at least a dozen combinations.
I’m making this too complicated aren’t I?
I told you, I’m indecisive.
I just want it to look good and not goofy.
So YOU tell ME.
Please, please, please click this link to my survey (it should open in a new window so you can refer back to this photo). Grant me access to your great design wisdom and then come back here and leave me a comment, too. You know, because I like comments.
Thanks y’all!!
Sponsored link: Home Decorating Made Easy
************************************************************************************************************************
You lost me. I can’t see colors that way. I think for my benefit, you should get out your paint program next post and color all your walls on the computer. 🙂
Read more from Dana on Don’t forget to submit entries to the Carnival of Homeschooling.
LOL!! I’ve done that before. I took a pic of the dining room and colored the wall red to see what it would look like!!
Unfortunately, that’s a whole lot easier in Photoshop… which I no longer have. (Bummer.)
ok heres my thoughts-I am so not a designer but I will give this a shot. Too many different colors is going to make the room feel smaller because you will be boxing it out-keeping the colors simple and to a minium will help with the flow of the room and keep your eye moving instead of stopping and starting with each color- its all about cohesiveness. I would paint the cabinets on by the fridge black. whatever wall color you chose I would paint both sides of the kitchen that color-a warm mocha? or latte color? The wall of… Read more »
2nd thought- since you already painted the other side with the ivory- i makes more sense to bring it to the other side- that will “define” the kitchen space. when you have spaces that are open to other areas you have to use wall color to define that area. and by painting the doors by the washer dryer that will help define that space. and if your worried about grease splatters on the ivory you could also buy some fun piece of decorative tin and hang it like a back splash or hang a large ceramic platter or plates that… Read more »
Great thoughts!
I definitely want to paint the whole end of the room by the washer and dryer (all the cabinets and doors and such) in one solid, light color. I didn’t buy any paint specifically for that but I may have some leftover paint so first I’ll wait and see what’s left and how much.
You’re right and bring up some good points – my original goal with the paint was to help define the spaces (except I didn’t paint the WHOLE dining room red because I thought that might be a bit much…)
Oh, I like Amanda’s thoughts…
I said this on your survey, but I think I’d lean toward 1-3 cappucino and 4-6 ivory, for the reasons that Amanda mentioned.
Happy painting!! 🙂
Read more from Kristi_runwatch on Can’t Leave Alone Bars.