Ah, science!
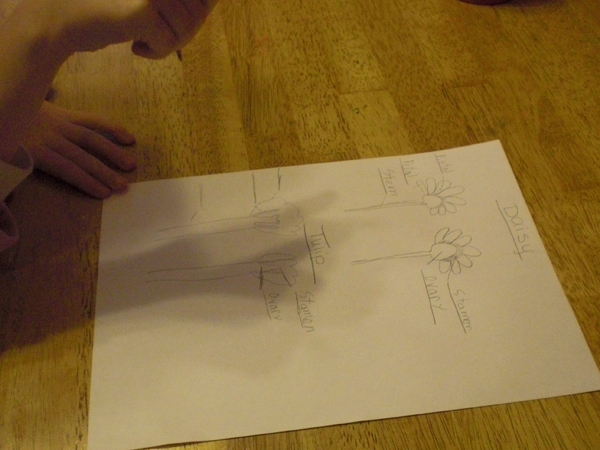
One of the things Princess needed to do for her science class was a flower dissection, which she’s really been looking forward to. (Princess is currently using Switched On Schoolhouse, level 5.)
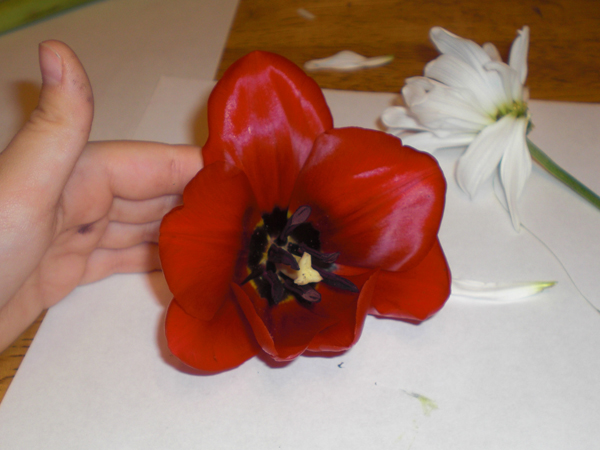
Of course, we turned it into a group project for both of the girls. It just so happens that Drama Queen just learned about flowers and their parts (on a smaller scale, roots, leaves, etc.) only a week before Princess needed to do this. When I went to the store I picked up some red tulips (love me some tulips!) and some white daisies (so cute) for our project.
Obviously the added bonus is that we didn’t need ALL of the flowers for the dissection. ; ) I’ve really enjoyed having some fresh flowers in my house this past week. (I think I may make that a new habit.)
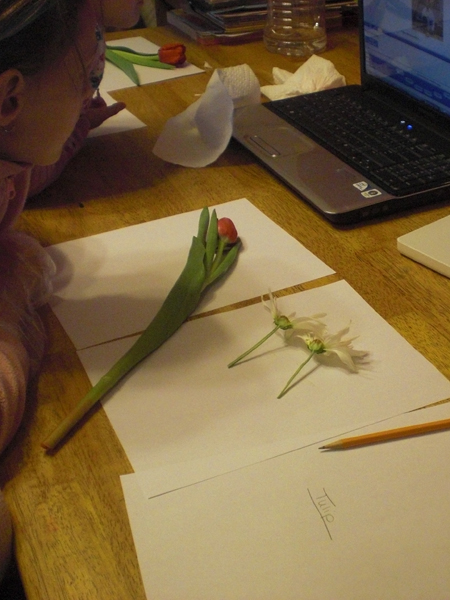
When Little Prince was away at grandma’s house,we snagged the interruption-free opportunity and we got to work dissecting our flowers:
Flower Dissection
Needed: 2 different flowers for each child, sharp knife, flower diagram for reference, white paper for each flower, magnifying glass, paper and pencil to draw and record observations.
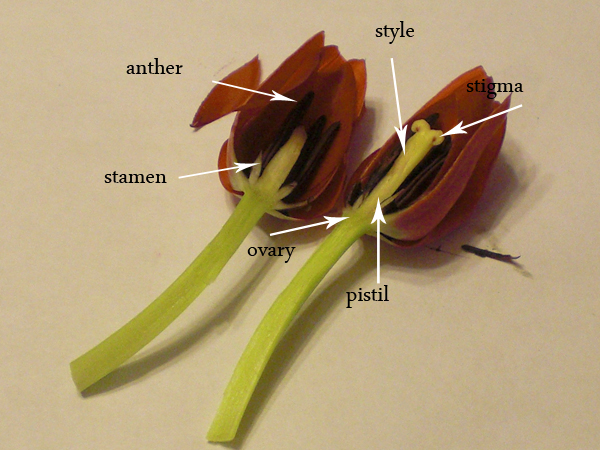
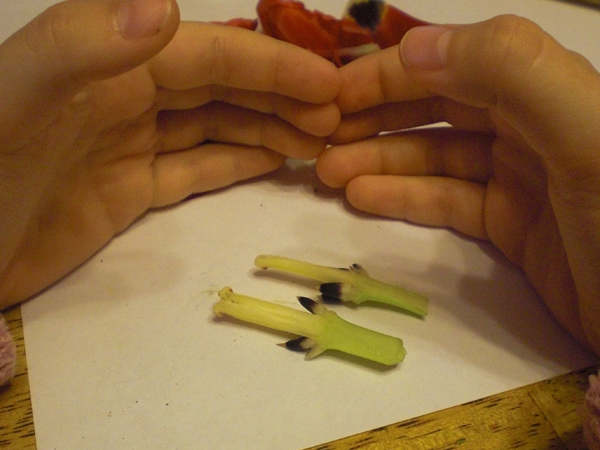
1.) One at a time, cut each flower in half carefully, observe and then draw what you see. (For a younger child, or a more hands on child, you can follow the modifications listed at the end.)
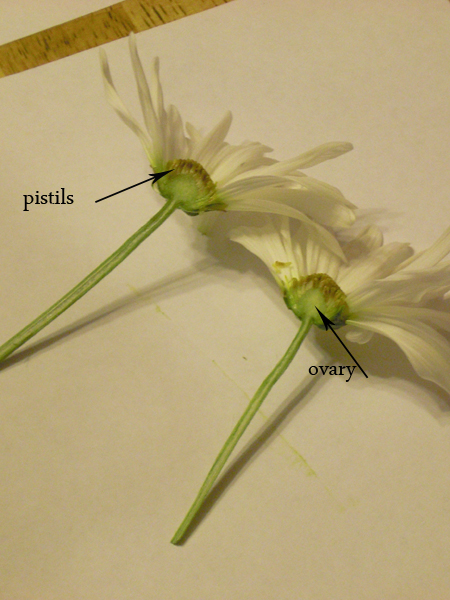
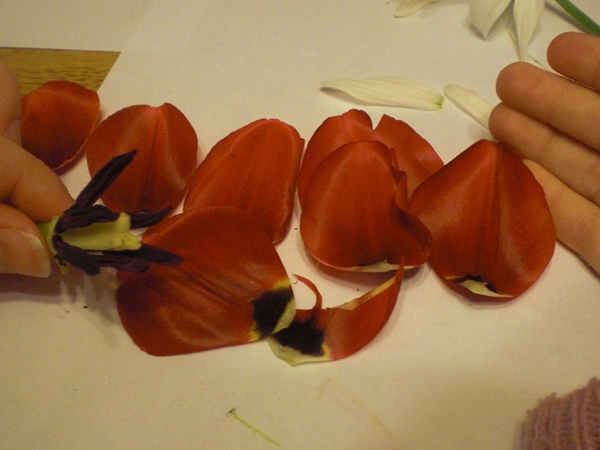
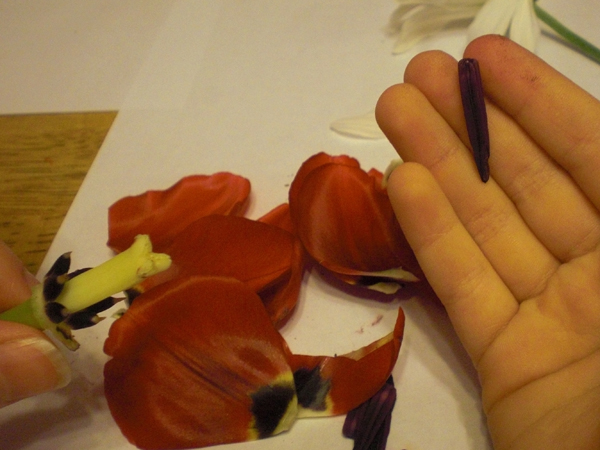
2.) If needed (as for the daisy) you can carefully pick apart pieces of the flower to find the parts you are looking for. The stamen, located at the base of each petal, can only be found upon closer inspection!
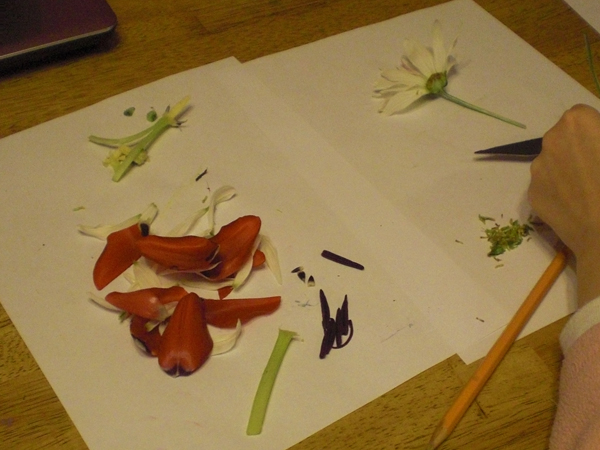
3.) Allow the child the opportunity to further examine and explore the flower until their curiosity is satisfied. Note the neat piles of the visual learner.
4.) Review the parts of the flower and their functions. Discuss how the two flowers were similar or different and where each of those parts were found or what they looked like. Record your observations.
Modification: If you have a younger child following along, or a very hands on and kinesthetic child (or a child who is both, like Drama Queen!) you can skip the initial step of cutting in half and allow the child to pull the flower apart, piece by piece.
1.) Pull the petals off and examine them. Are they “alone” like the petals of the tulip? Or do they hold a tiny stamen at the base like the petals of the daisy? How do they look, feel, smell?
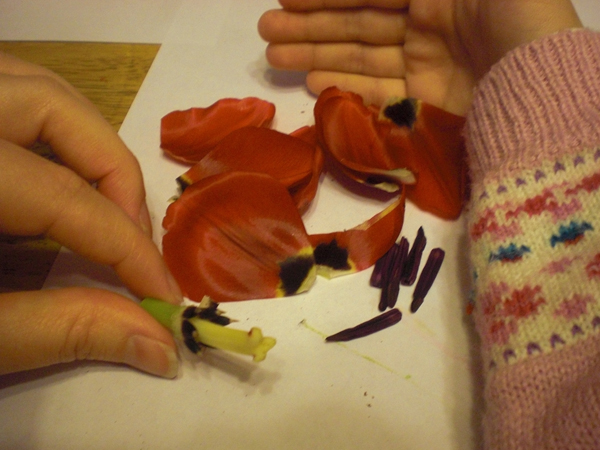
2.) Whether the stamen are on the petals or still on the flower , pull them off and examine them. What color are they? Are they big or little? See if you can scrape some of the pollen off onto the white paper and look at it under the magnifying glass.
~
3.) Turn your attention to the pistil(s) in the middle. Is there one or many? Now cut the remaining flower in half, and see if you can identify the ovary.
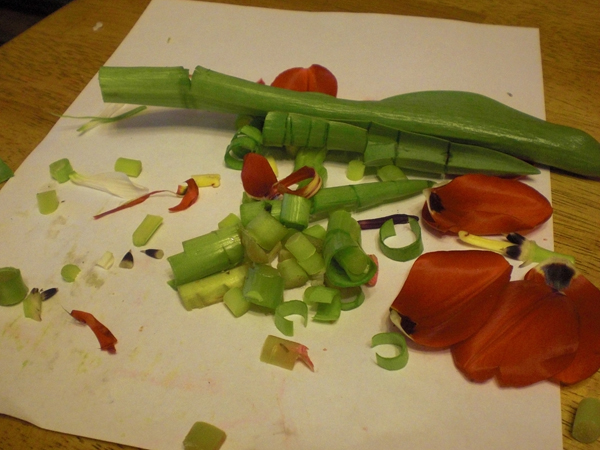
4.) Now let your child explore for as long as their attention span holds. Warning: If you hand your tactile learner a knife and let him or her further explore the insides of the flower.. you may end up with something like this: ; )
And that concludes your flower dissection — enjoy!!


Oh, that looks like fun!
Hi! Just found your blog while doing a flower dissection search. Thanks for the great pictures and the simplicity of explanation. I teach a gardening class for 10 neighborhood kids and this is what we’re doing this week. I expect it will be a bit messier than yours, but a great learning time nevertheless! I love Gods creation!