How to Take Your Own Homeschool Senior Portraits
Taking your own homeschool senior portraits is a bit of a challenge but something you can totally pull off with some planning and effort. (This is something else we were trying to do in the middle of graduating early and planning a graduation and registering for classes.)
Ideally, you won’t be trying to get all of these things done at once. Even if you do have more time to get this done, you’re still going to run into some challenges, learning curves, and hurdles. It turned out that one of our biggest challenges was the teenage daughter! =p But seriously, when you’re trying to get outside during the golden hour and you’re quickly losing daylight, things will go much more smoothly with some good planning and prepping ahead of time.
I’ve shared my first 5 Tips for DIY Senior Portraits HERE, where we talk about researching poses and props, finding props, “golden hour,” editing, and photo sites. Now, let’s talk about the other half of that coin.
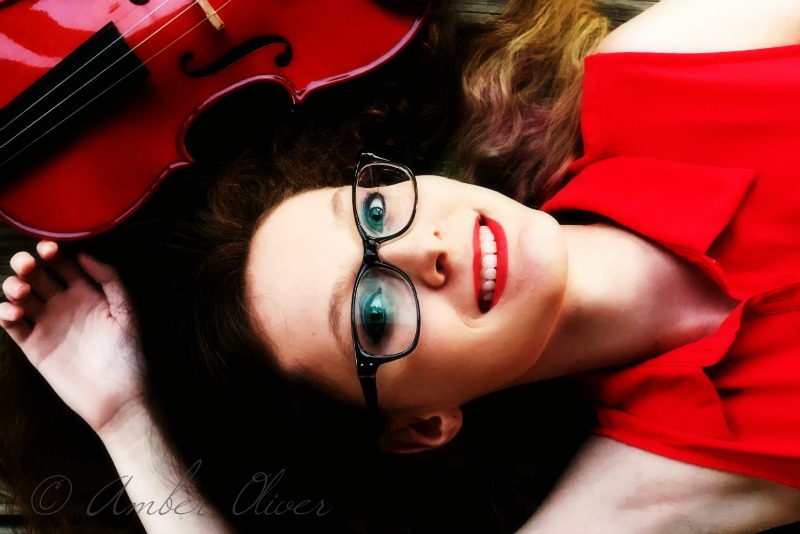
5 More Tips for Taking Your Own Homeschool Senior Portraits
One – Plan Outfits & Hair Ahead of Time
Some of our biggest challenges were what seemed like the smallest things. The first time we went out to take pictures, we knew we wanted to go *this* park and do *this* pose with *this* prop.. and we knew that Catie had plenty of cute clothes to choose from so we didn’t really think any further than that. Since we had a wrinkle in our schedule earlier in the day, we were already running behind schedule when Catie was caught in a “I don’t know what to do with my outfit or my unruly hair” dilemma. (Curly hair can really be a monkey wrench!) I was ready to throw in the towel and try again another day!
In the end, we just barely made it to the park in time to get some pictures before losing too much light. Still, some of them came out quite well! surprisingly well! But it was a close call, and there were many *feelings* exchanged along the way.
Our second trip out was only marginally better. She knew what she wanted to do to her hair but it took forever to style it (again – that curly hair!!) That time we *were* able to get to the location a little earlier to have a little more time for pictures, but we still felt rushed. Compared to our third trip out, where every little detail of the hair and outfit was planned ahead of time, with more preparation in advance, it was blatantly obvious that being our own photographers was kind of a setback for us. If we were meeting a professional photographer we would have been much more diligent ahead of time with time management, choosing outfits, doing the hair earlier, etc.
So when planning your portraits, pretend you’re meeting a photographer and paying a lot of money for these photos. That is to say, plan ahead to the smallest detail: shoes and jewelry and everything. Prepare the outfits and paint the nails the day before, and do whatever hair prep needs to be done ahead of time. (The third time, my daughter curled her hair the night before and the touched it up in the morning, it was so much faster!) And plan to be at your location earlier than you need to, just as if you were meeting someone there.
This seems like a no-brainer, but the preparation for the Day Of was our biggest frustration! Be prepared. =)
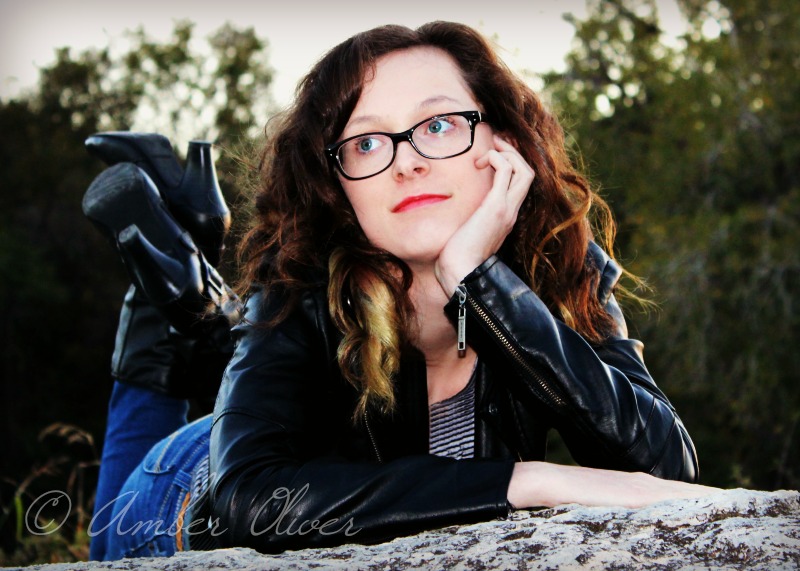
Two – Plan Multiple Photo Sessions
You’ve probably already figured this out, but we didn’t shoot our senior portraits all at once. We planned multiple photo sessions so that not only could Catie choose different outfits and locations but different hairstyles as well. This also allowed us to take some photos in the evening light, and some in the morning light.
This also allowed us to learn from each session and carry that into the next one.
One of the biggest benefits of taking your own photos IS the ability to break it up into pieces. Because we are NOT professionals, we took a slow and steady approach. We took the photos home and looked at them, learned what we liked and didn’t like about the different poses or the lighting, etc, and then carried that with us with a new outfit, new hairdo, and new location. It made the project more manageable for us.
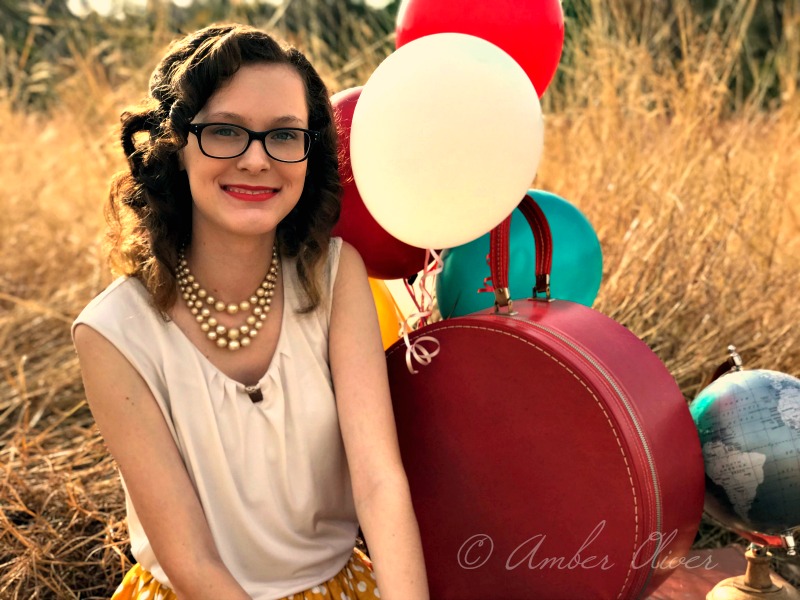
Three – Use props and outfits that reflect their personality, style, interests, and goals.
I remember when I was in high school and we had my senior portraits done. We went to a studio, and though we did take a few props of our own, we also chose some of their stock props– those props that everybody had in all of their senior photos at the time: the big numbers of my graduation year, a black graduation cap, etc. I remember that while all of my friends’ senior portraits were different, they were also a little the same. You know what I mean?
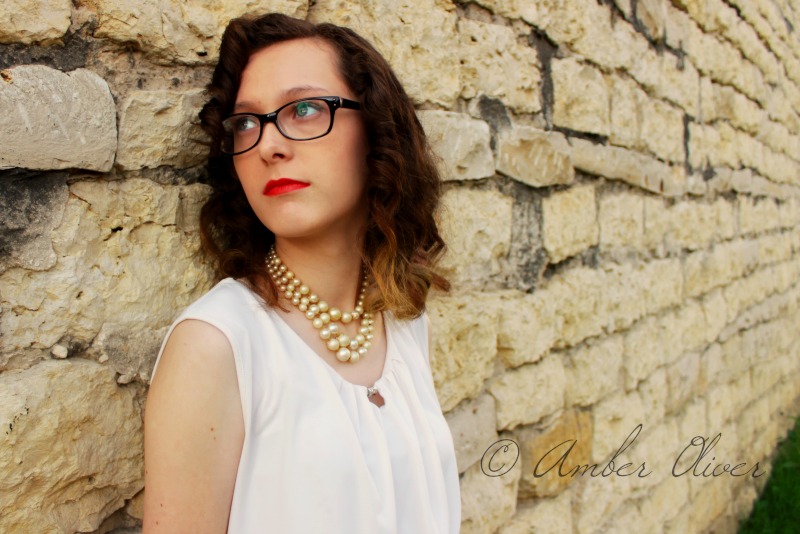
So while we were brainstorming and researching ideas for photos and props, I encouraged my daughter to find things that were personal to her, her style, and her interests. We came up with a lot of really great ideas! Her violin, a Bible, The Princess Bride book, and stacks of other books, and her dog. Even the vintage feel photo shoot, was very “her” because her style and taste is so eclectic, and she frequently pulls out a retro or vintage look.
Of course, we also took a lot of pictures without props at all, but having those personal “so very her” pictures in with the rest are what make her senior portraits really good. We ran out of time to do all that we wanted to before the time change in the fall, and the weather was frequently not cooperating with us. We still have a couple of things we never got to do that we might end up doing in the spring. The great thing is, we can if we want to. We’re running this show!
Four – Take LOTS of pictures (especially if you aren’t sure what you’re doing.
Not only did we try several outfits, several locations, and lots of poses.. but we also took LOTS of pictures at each one. You never know which ones will come out well and which ones won’t. And again, we aren’t professionals!
It was not surprising but still disappointing to get home, pull up the pictures in full size, and see that some of the ones we had high hopes for were a little blurry, or her eyes were half closed, or some other problem. But in several other cases, we had six perfectly good shots of one pose and had to choose the one that we liked the best.
In the end, we had plenty of good pictures to choose from, that then just needed to be edited and finalized.
Five – Plan more time for editing than you need.
All of your pictures are going to need to be edited. Don’t think they won’t! Even if you don’t want to do any kind of fancy editing (and I recommend you don’t really try to unless you’re already somewhat knowledgeable in that area,) your photos will need at least a small amount of cropping or exposure editing.
Even your really good shots that you think already look great will look amazingly better with a small amount of basic editing.
But the catch is, that if you’re not already practiced in the editing process, it will probably take you a lot longer than you think.I edited in small bits at a time, afraid to over-edit, under-editing in some cases, and still not being happy with the edits in most cases and then starting over. It was a big learning experience.
I had high hopes for getting the editing done quickly and then having a photo book of all the portraits available to look at for her graduation ceremony. (That didn’t happen.)
So with the editing, start early, take your time, plan on the whole process taking longer than you think it will, and you’ll make it through the editing process with a lot less stress and pressure.
Now, what are you going to do with those senior photos?
Now that you’ve succeeded at taking your own homeschool senior portraits, what are you going to do with them?
Obviously you’re going to want to print them out to give to family members. But you might want to print the best ones into a photo book also. Many sites like Shutterfly offer photo books, with options for customizing the layout and design. You may not want to print photobooks for everyone, but I wanted one for us, one for our daughter, and one for each of the grandmothers, because it would make a nice keepsake.
Regardless of what other options you choose, you should make a senior portrait cd. You should save all of the photos to one disc, both for backup and so that you can print other pictures later if you need. But you can also make copies of the discs and give those to family members who can then print whichever extra photos they want in whichever size they want. You may only print or two of the best ones, you might only put the 10-15 best photos in a photo book, but you can put ALL of the good ones on a disc. It’s just a thought. =)
Don’t forget to check out the other five tips if you haven’t already!
For more high-school-senior related posts check out:
- Prepping for Graduation
- High School Transcripts and Diplomas in Texas
- How to Graduate Your Homeschooler in Texas, Part 1 (The Paperwork)
- How to Graduate Your Homeschooler in Texas, Part 2 (The Ceremony)
Have you taken your own homeschool senior portraits? How did that go? If you’re just now tackling that task, I do hope you found something useful from our experience. Good luck!
Photo by Chase Clark on Unsplash

[…] decided to do our own senior portraits. Are we professionals? No, we are not. But we have a wee bit of knowledge and we thought, […]