How to make your own Advent Calendar
You need:
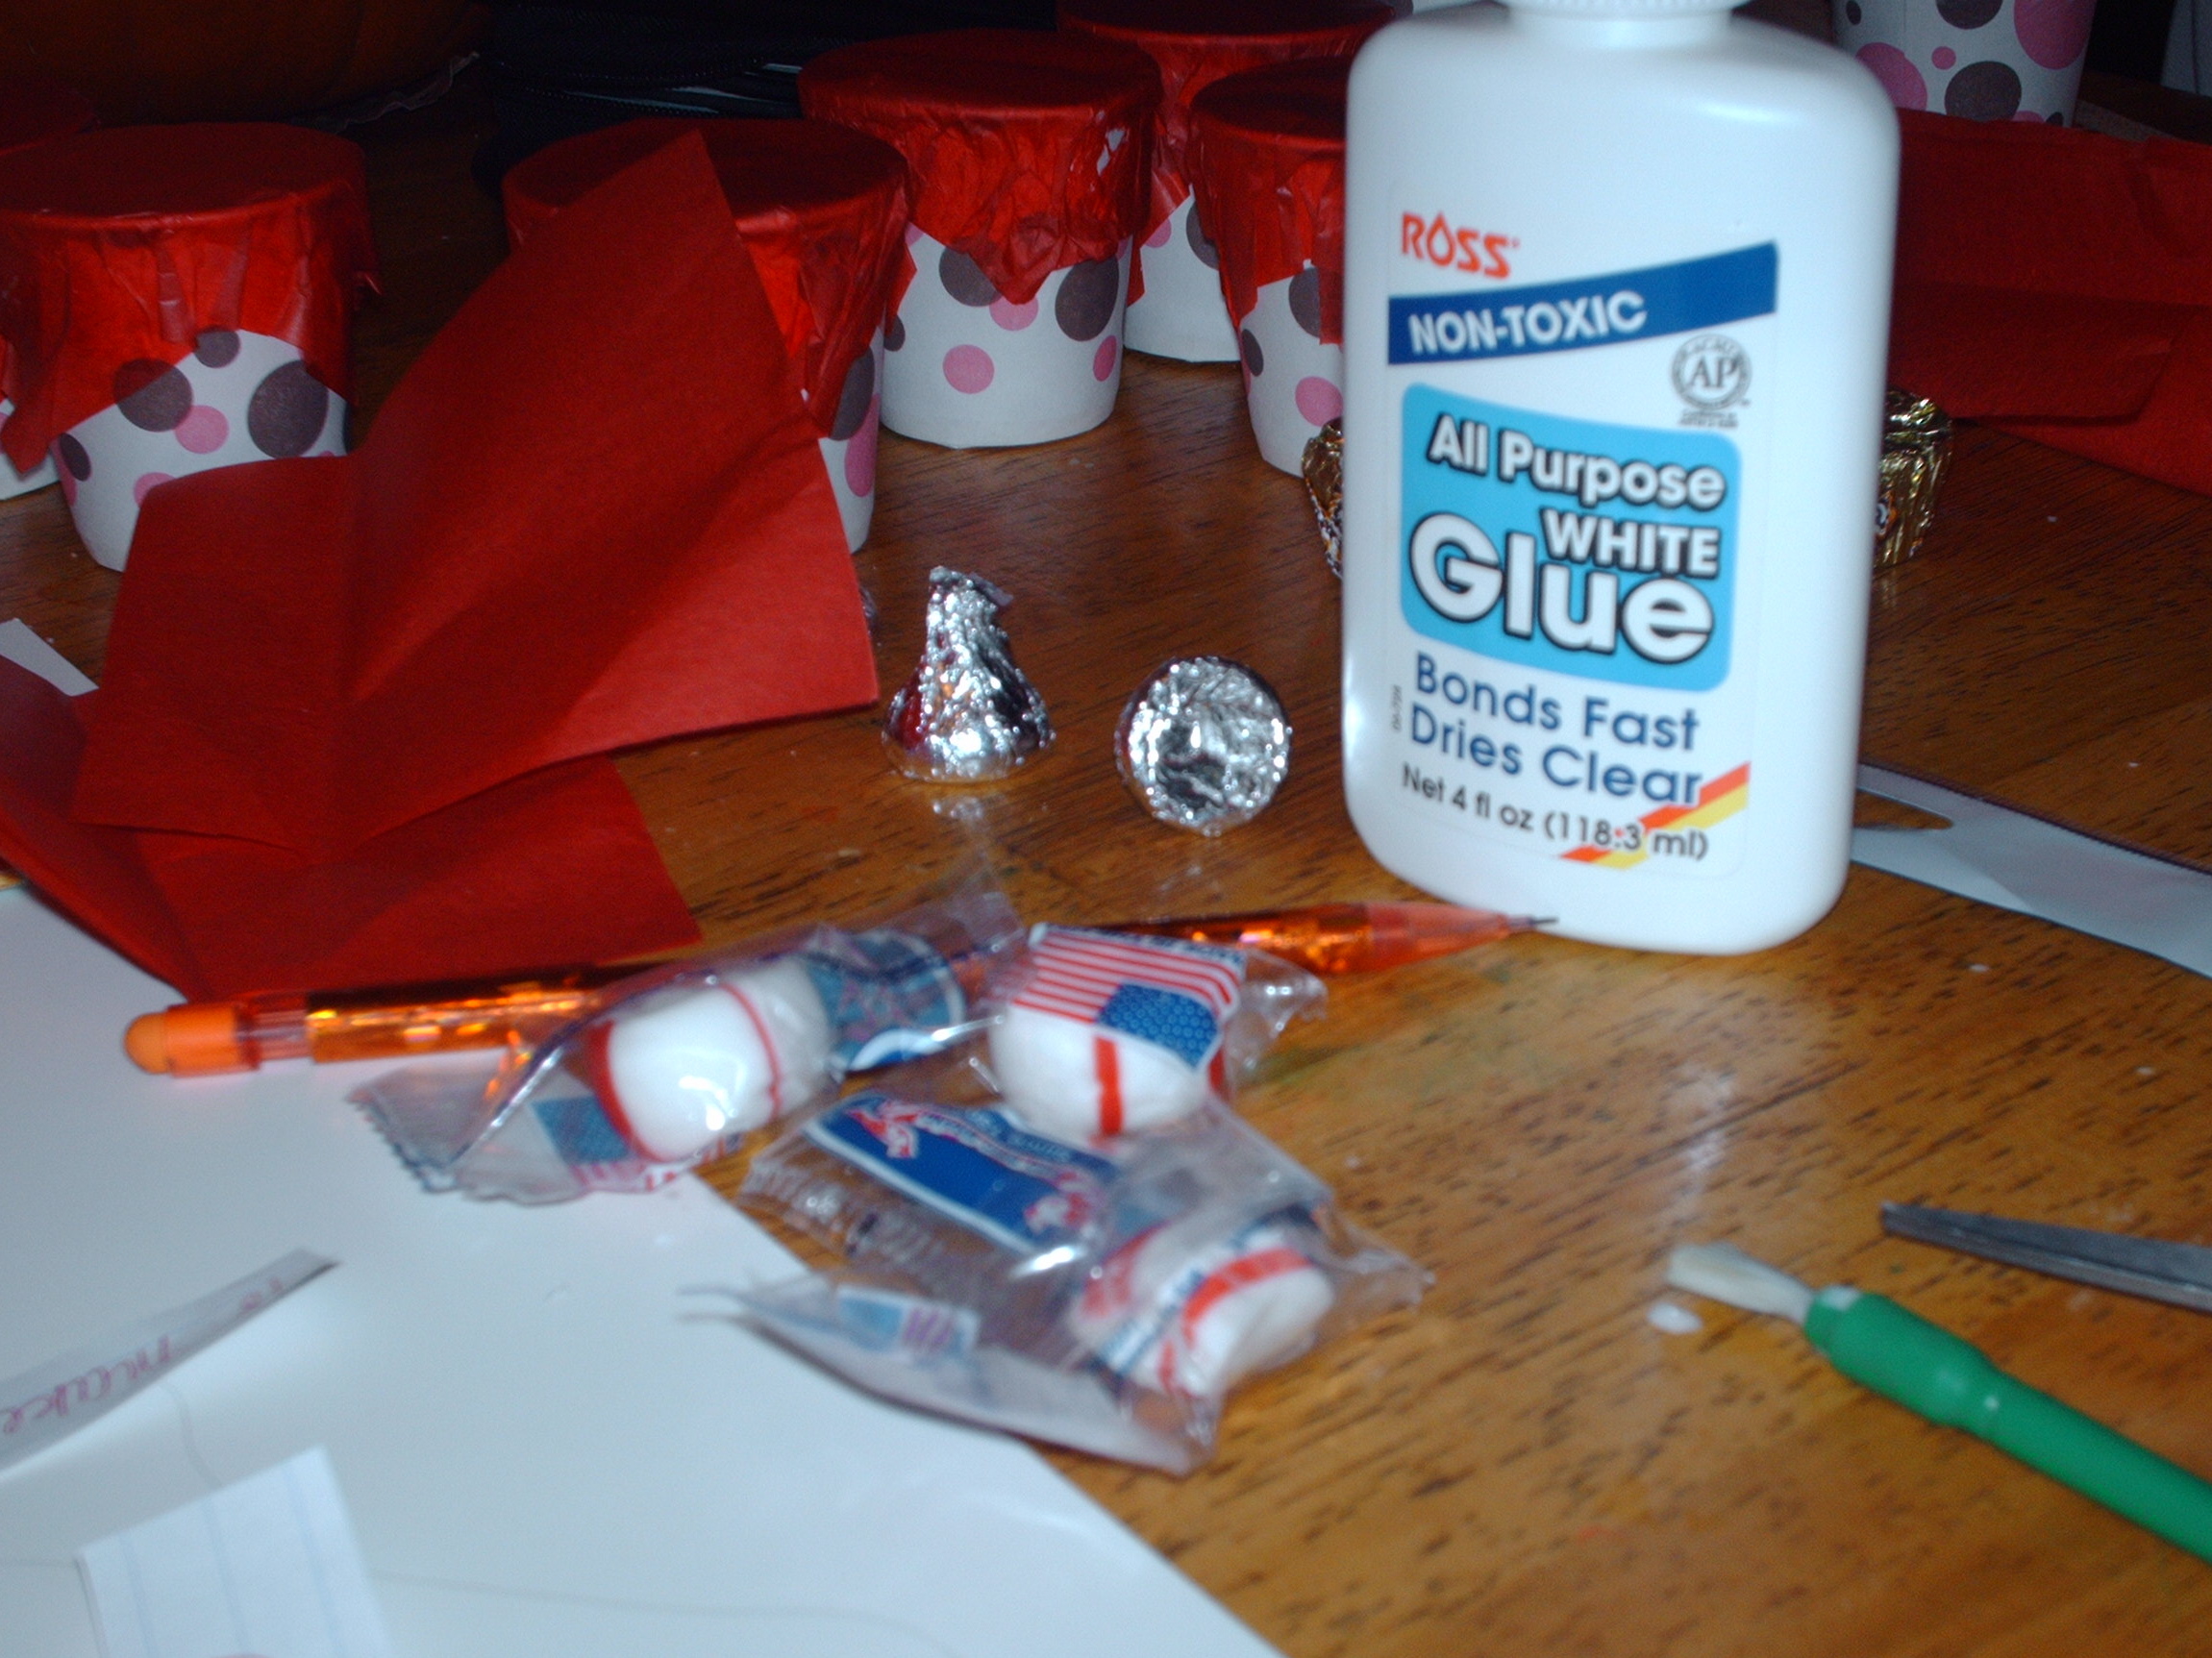
- One large piece of poster board.
- 24 little Dixie paper cups.
- pencil
- school glue
- paintbrushes
- pencils with new erasers
- small bowl
- small plates
- 24 small strips of paper with activities.
- small candies (enough for one per child per day)
- red, dark blue, light blue, green and yellow tissue paper cut into squares. (The ones you’ll be covering the cups with should be about 4″x4″. The ones you glue on for decoration should be about 2″X2″.)
Step 1: Preparing the poster board.
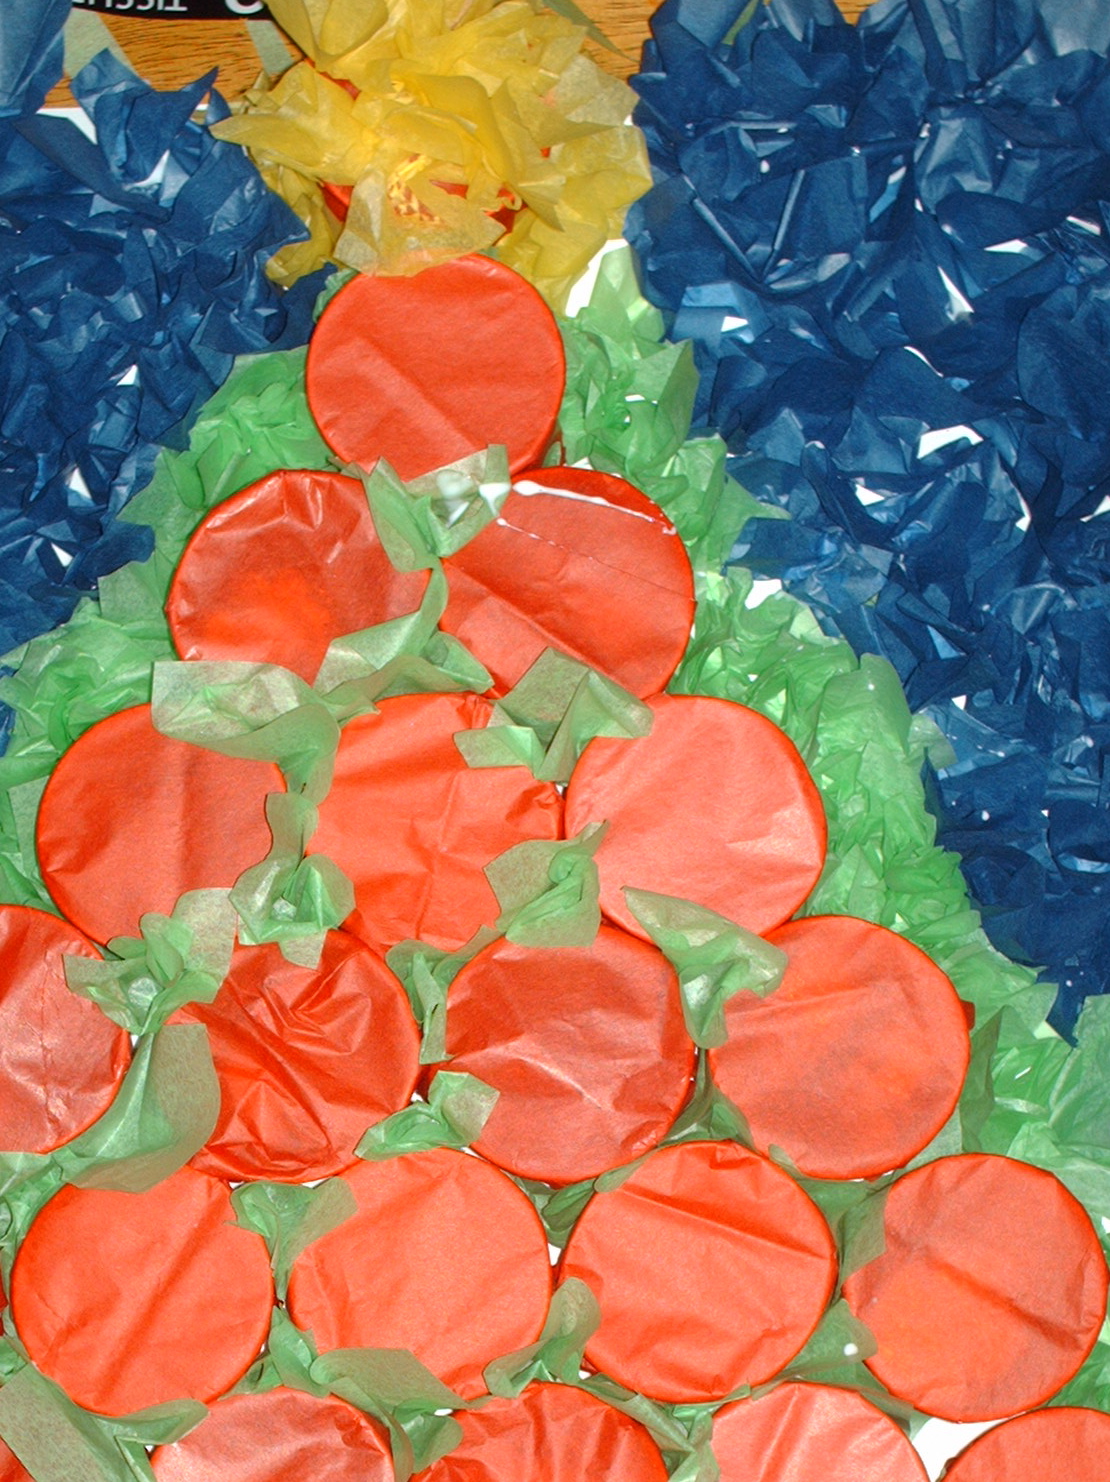
- Arrange the paper cups on the poster board, open side down, into the shape of a christmas tree. One cup will represent the star at the top and two will represent the trunk at the bottom.
- Trace around the outside of the cups as much as you can while removing them from the posterboard one by one.
- Number the spaces and the bottoms of the cups to make it easy to put it back together later. (If you don’t number the cups, you won’t have any way of knowing what’s inside the cup after you cover it.)
- Trim the extra space around the tree shape, leaving just a couple of inches around the tree on all sides.
Step 2: Preparing the cups.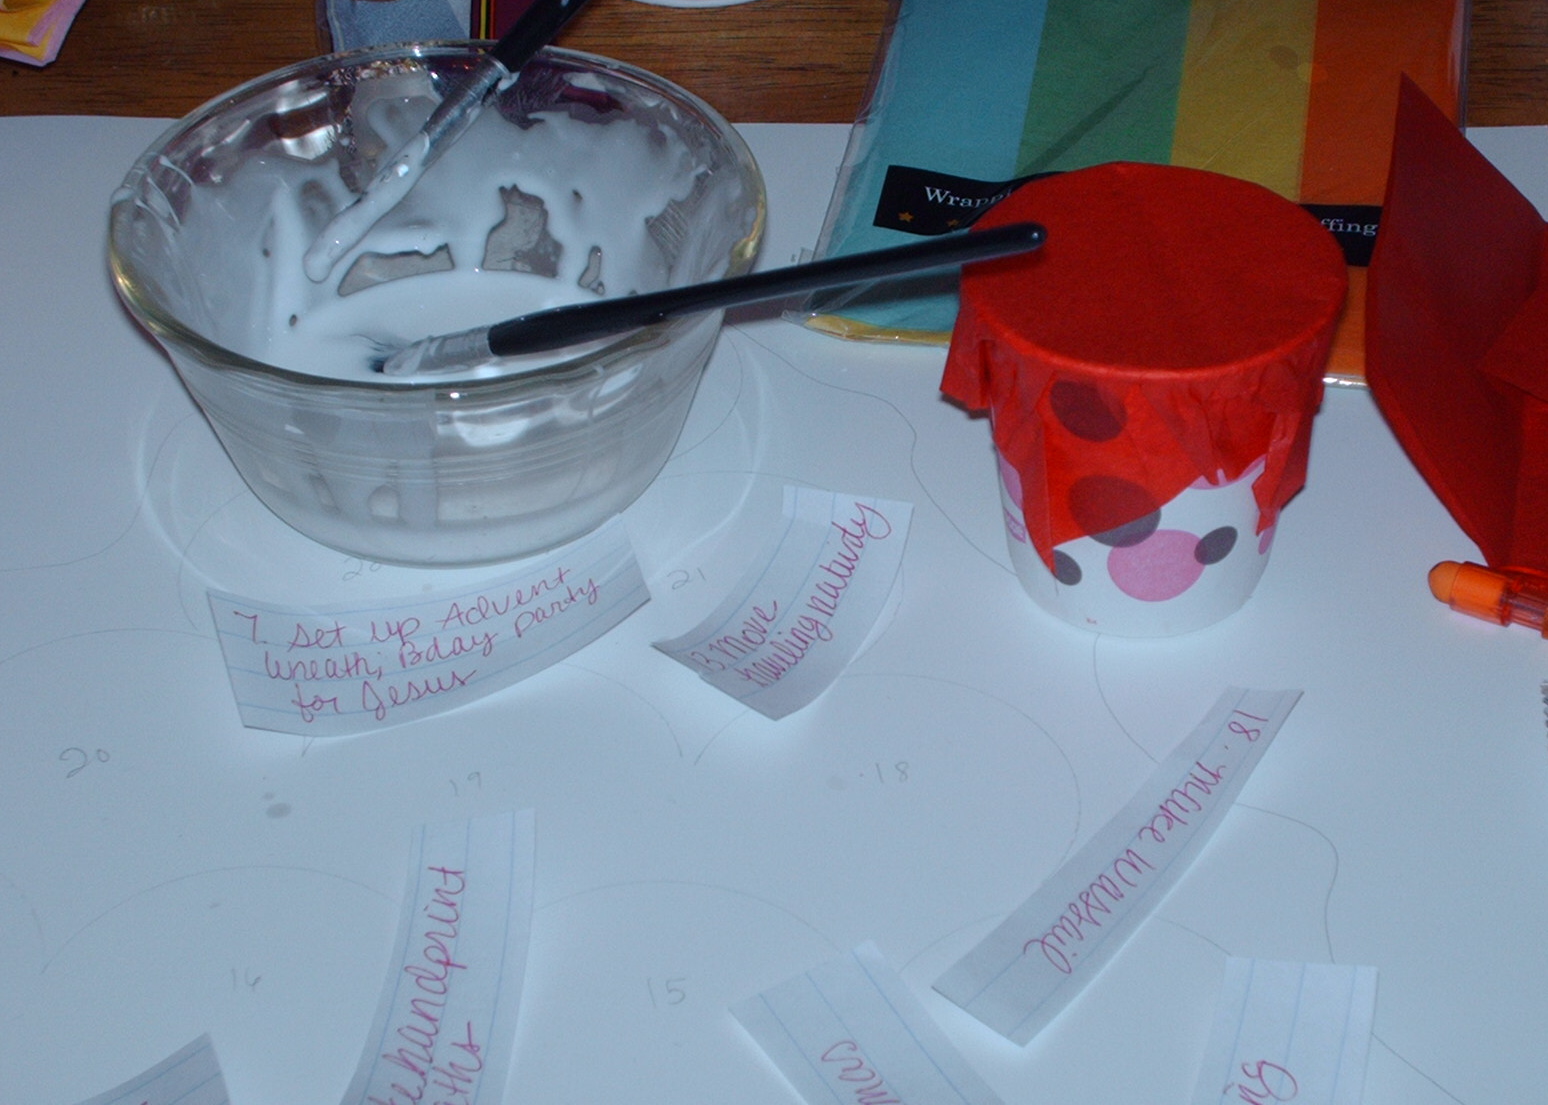
- Place the activity slip for the 1st day and the appropriate amount of candy inside the first cup.
- Using the paintbrushes and some school glue in a small bowl, paint around the outside lip of the cup, about one inch down.
- Cover with a square of tissue paper, smooth down the sides and set aside to dry.
- Repeat with the other 23 cups.
Step 3: Putting it all together.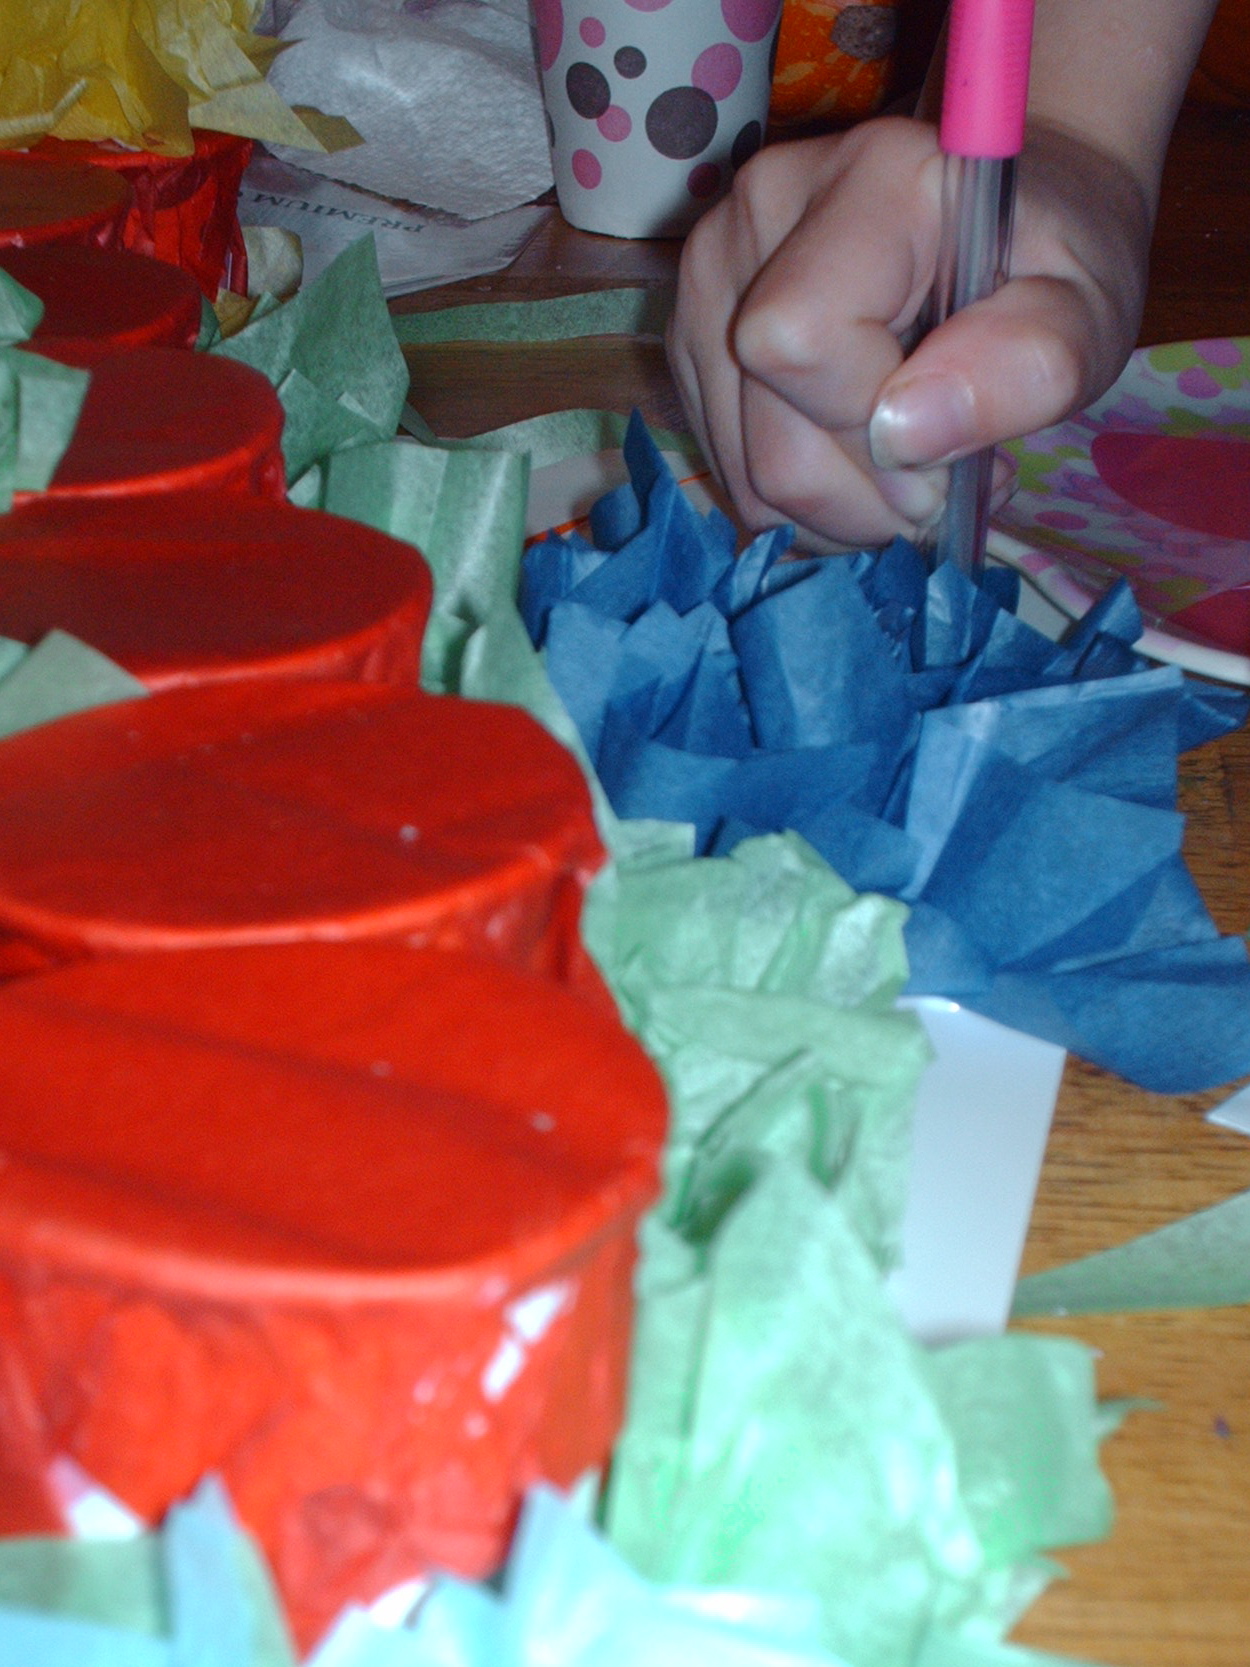
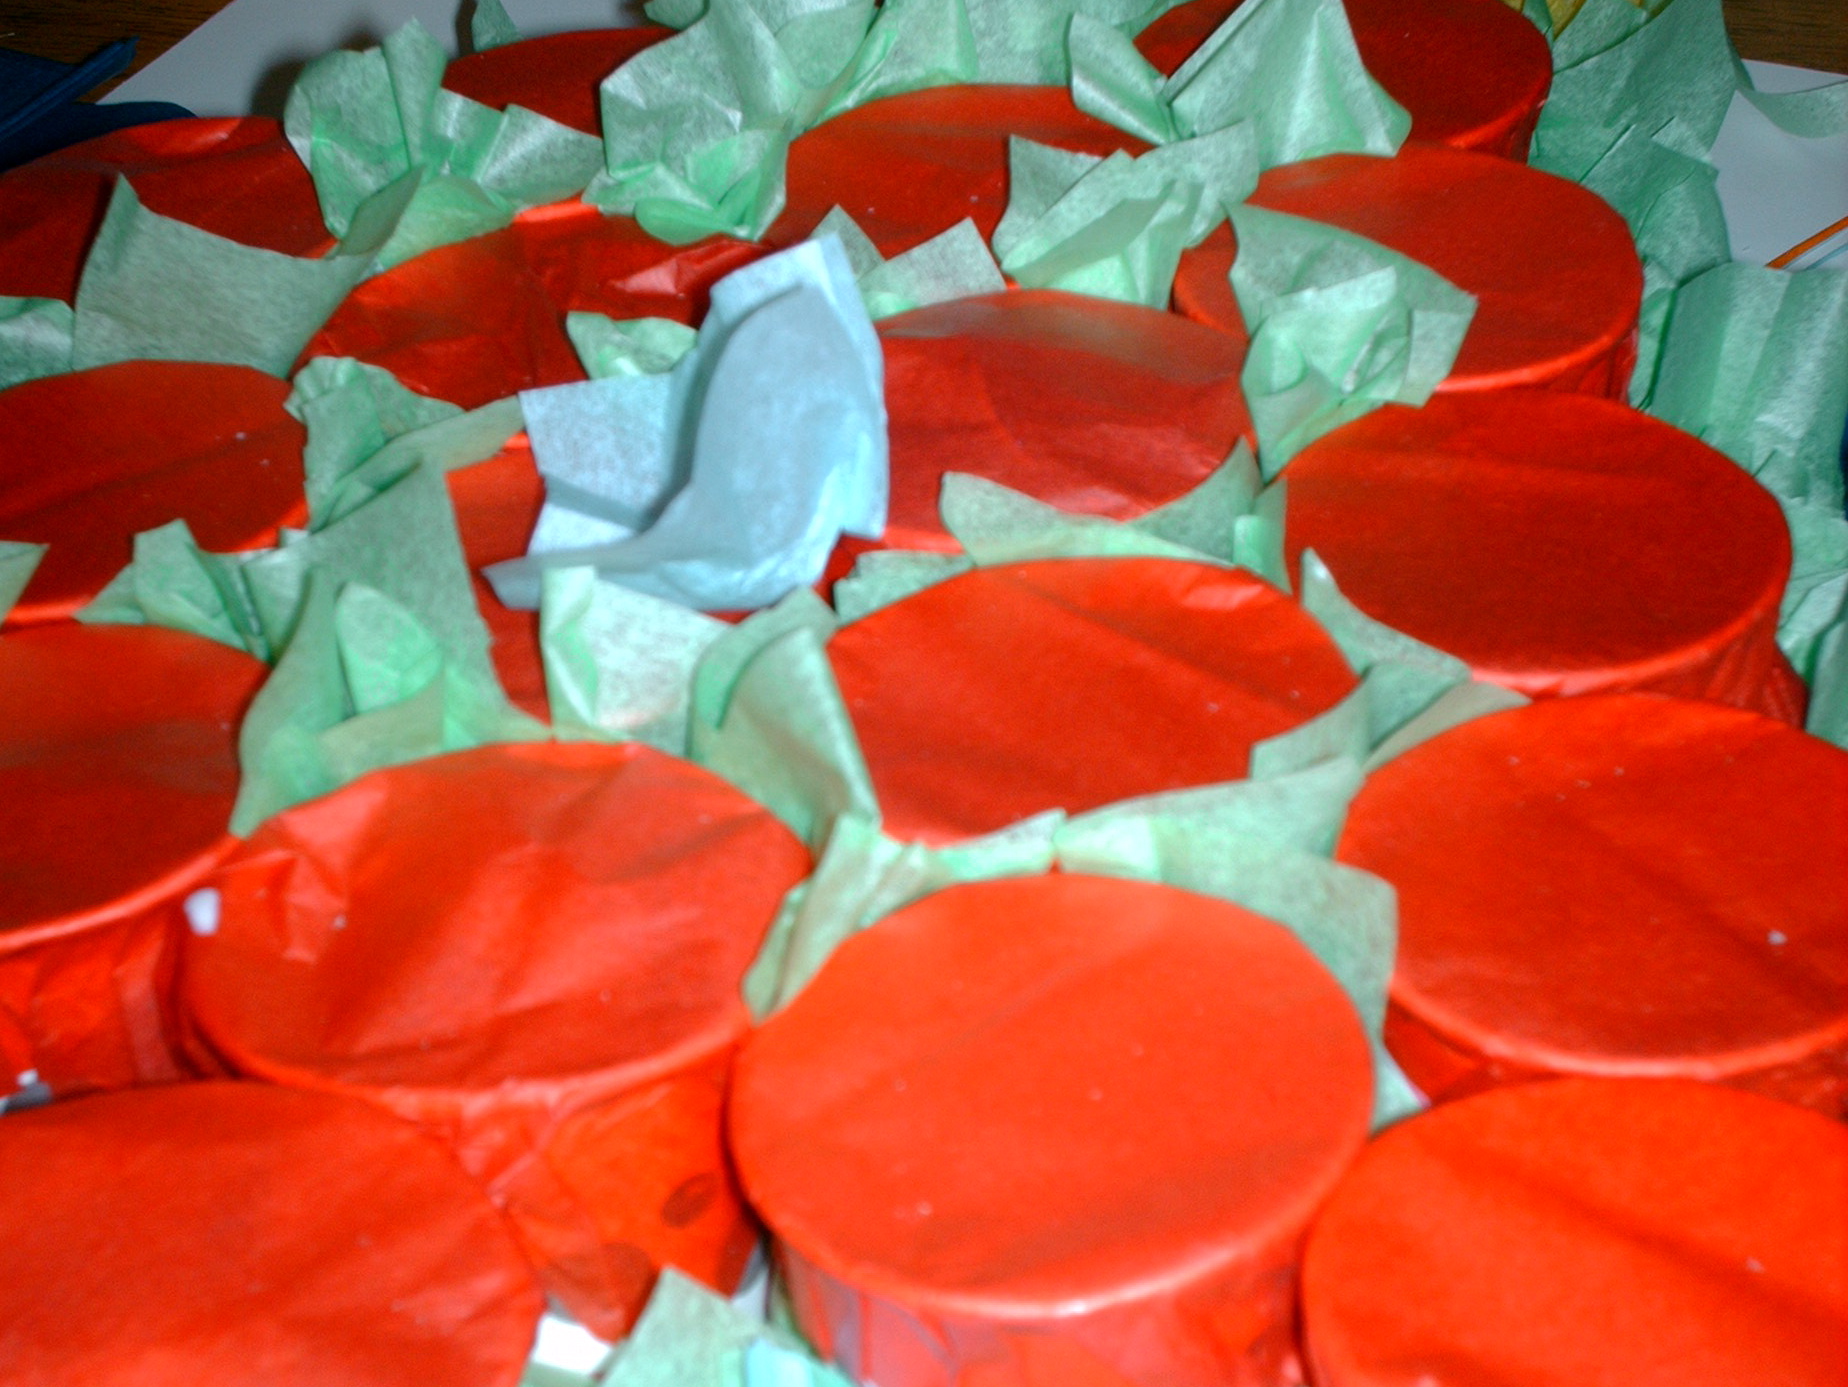
- Starting at the top, glue each cup to the poster board with the school glue and paintbrush. (This is where the numbers on the bottoms of the cups come in handy.
- Place the eraser end of the pencil in the middle of a tissue square and wrap the sides of the tissue around the pencil loosely. Dab the bottom of the tissue into some school glue (spread thin on a small plate) and adhere the tissue to the posterboard, sliding the pencil back out again.
- Repeat this process using the appropriate colors until your posterboard around the cups is completely covered.
- Using your eraser and some green tissue squares, repeat the above process of wrapping the tissue around the eraser, but intead of dipping the squares into the glue, tuck the green tissue in the spaces between the cups, leaving the ends sticking out.
Step 4: Dry and hang.
- You’re work is done!
- Allow the Advent Calendar to dry completely overnight on a flat surface.
- Once the calendar is completely dry, you can hang it however you wish for your little ones to enjoy.
- Your kids will get a thrill out of punching through the paper to pull out the treats inside.
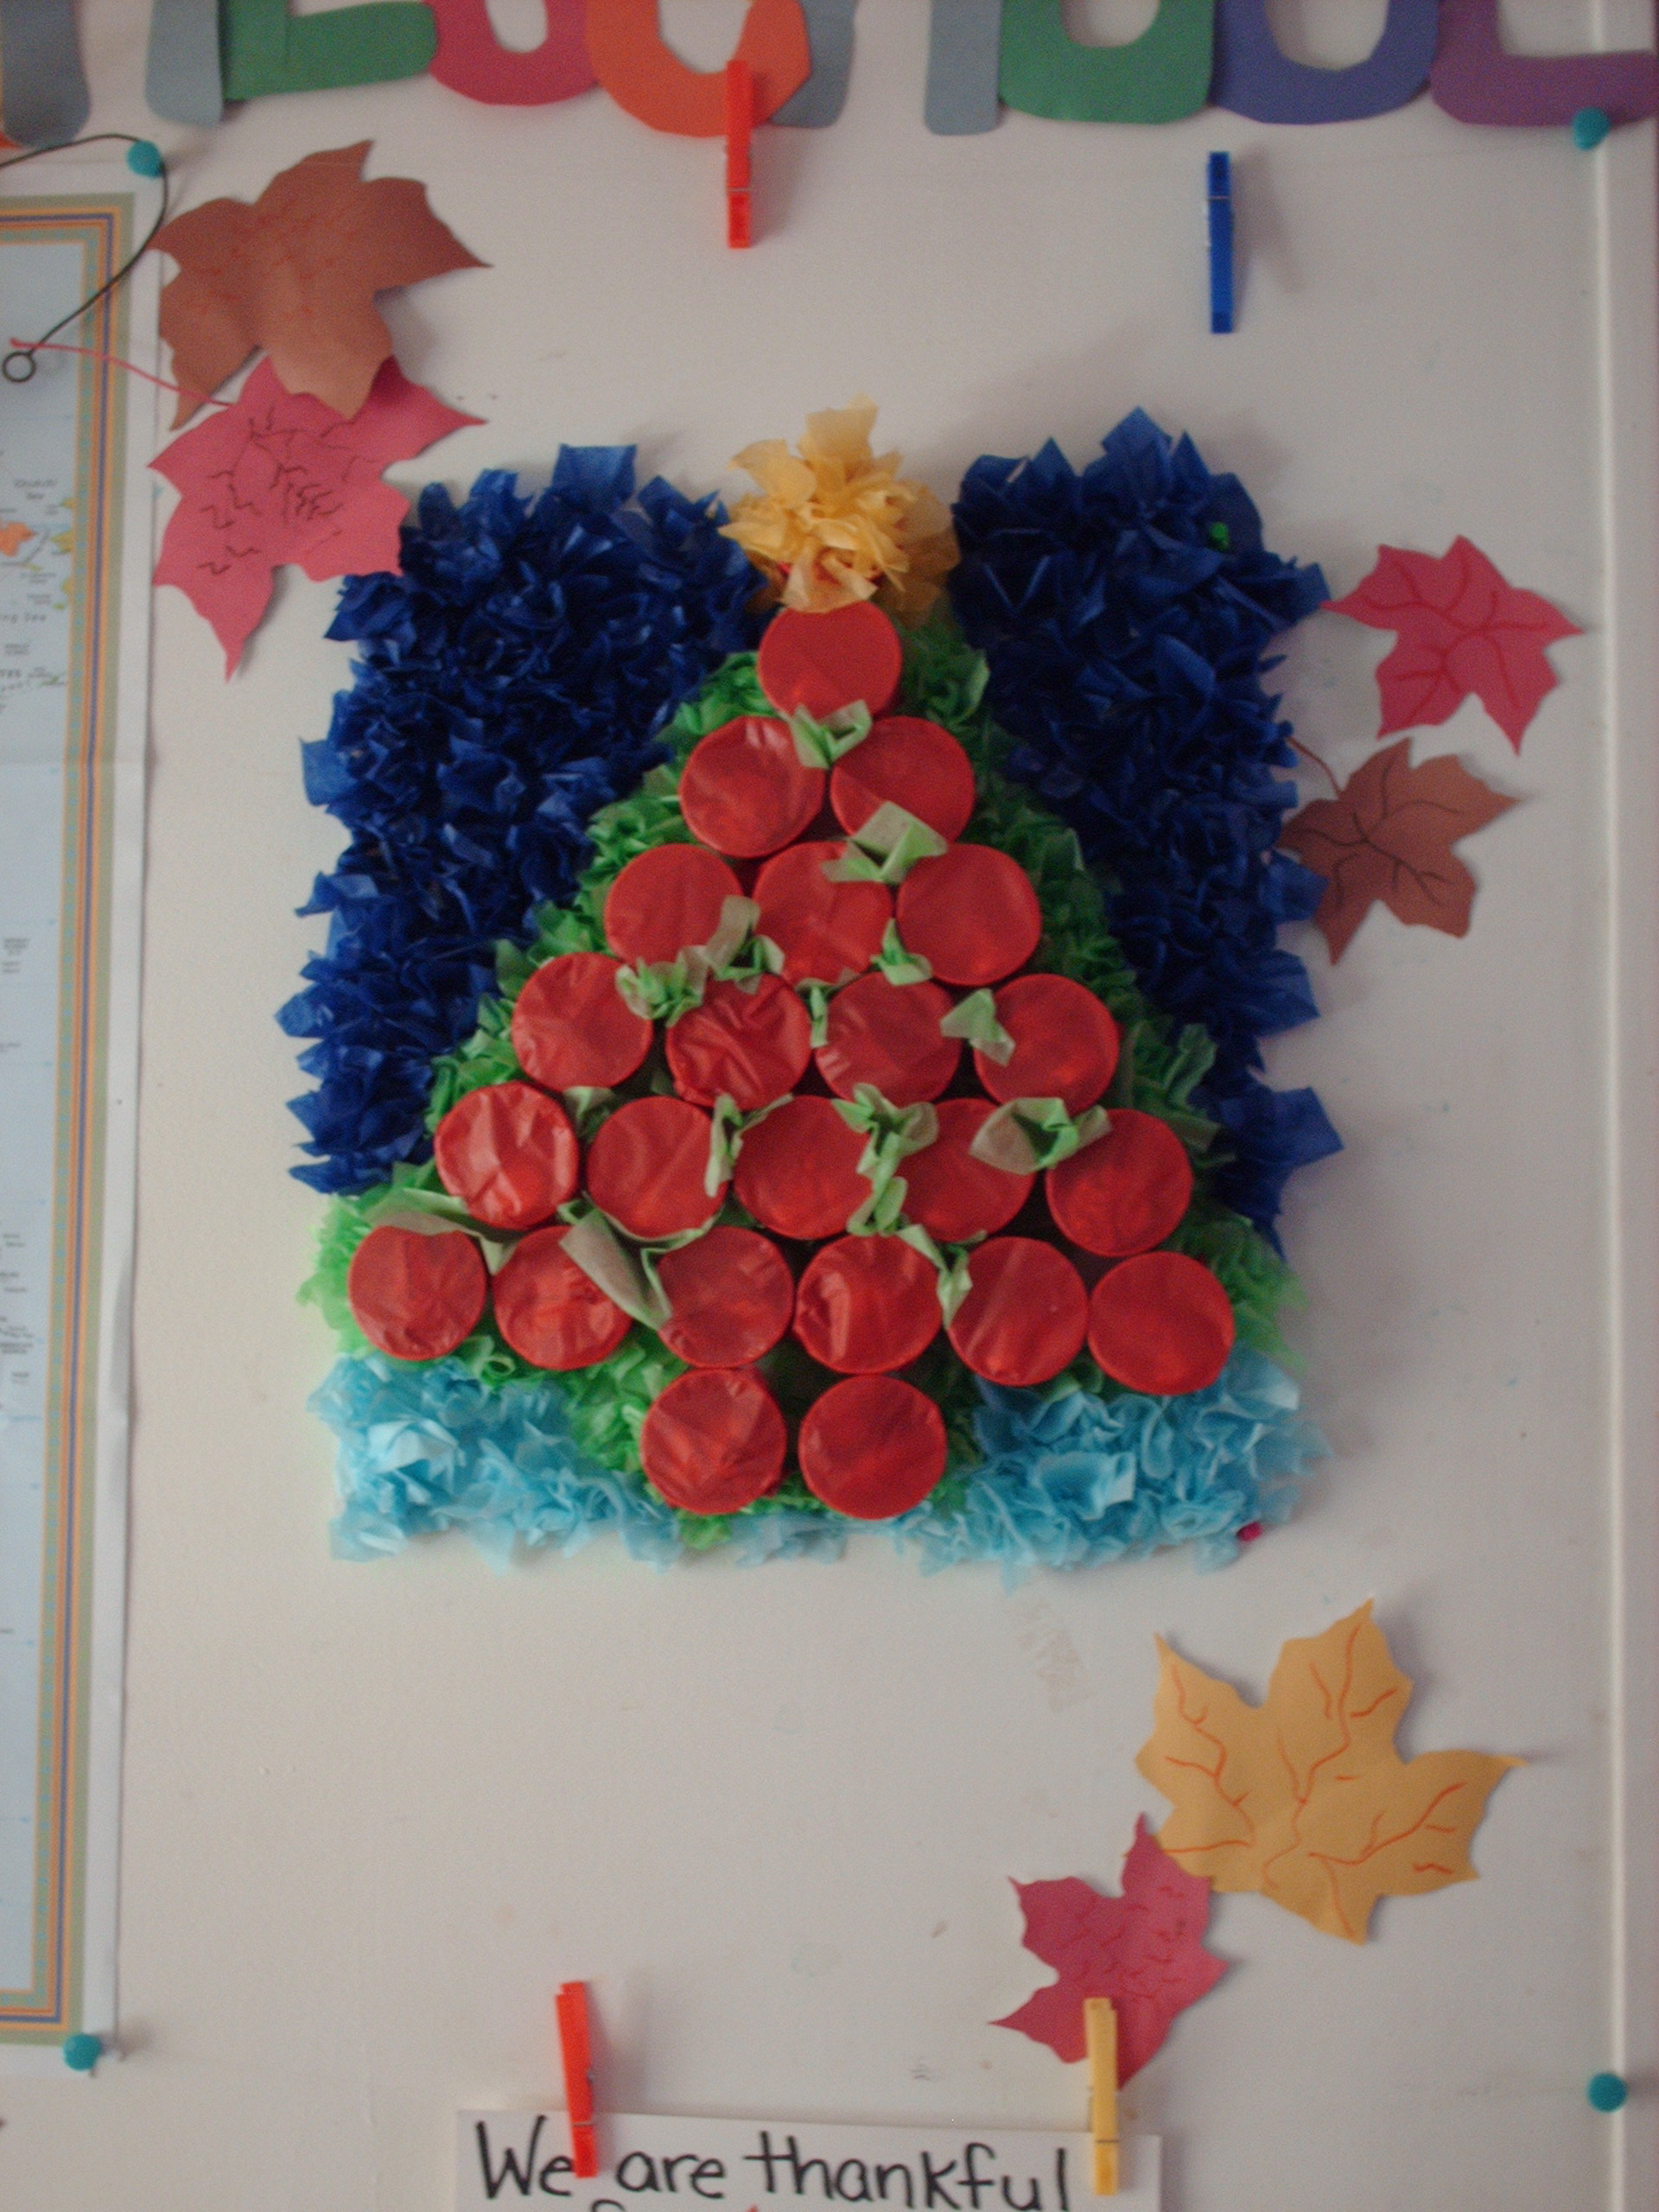
Have fun making your own Advent Calendar!
Amber
You can find all the Advent Event posts here.

How utterly ingenious – I looked all over the web for a “make it yourself” advent calendar, but didn’t find this one! I’m ashamed to say – I found one at Target and bought it. I didn’t pay an arm and a leg for it, but I would have much rather made one! I’ll remember it for another time!
Here via your comment at Penny’s place!
Blessings
Lori’s last blog post..where’s daddy?
That looks so awesome! I’m not so crafty but you made it so simple to make by following your instructions. Thanks for always inspiring me to make the holidays extra cheery! 😀
Oh I love this I wish I would have seen it earlier. Im printing this off and putting it in my Christmas crafts folder TY for sharing
Stephanie
Stephanie’s last blog post..mommyhastoys: @CarissaRogers ive been using tweetdeck for about a month now its nice!